
Paper Ink Blog
Product Information Labels: Prepare Ingredients and Barcodes for Print

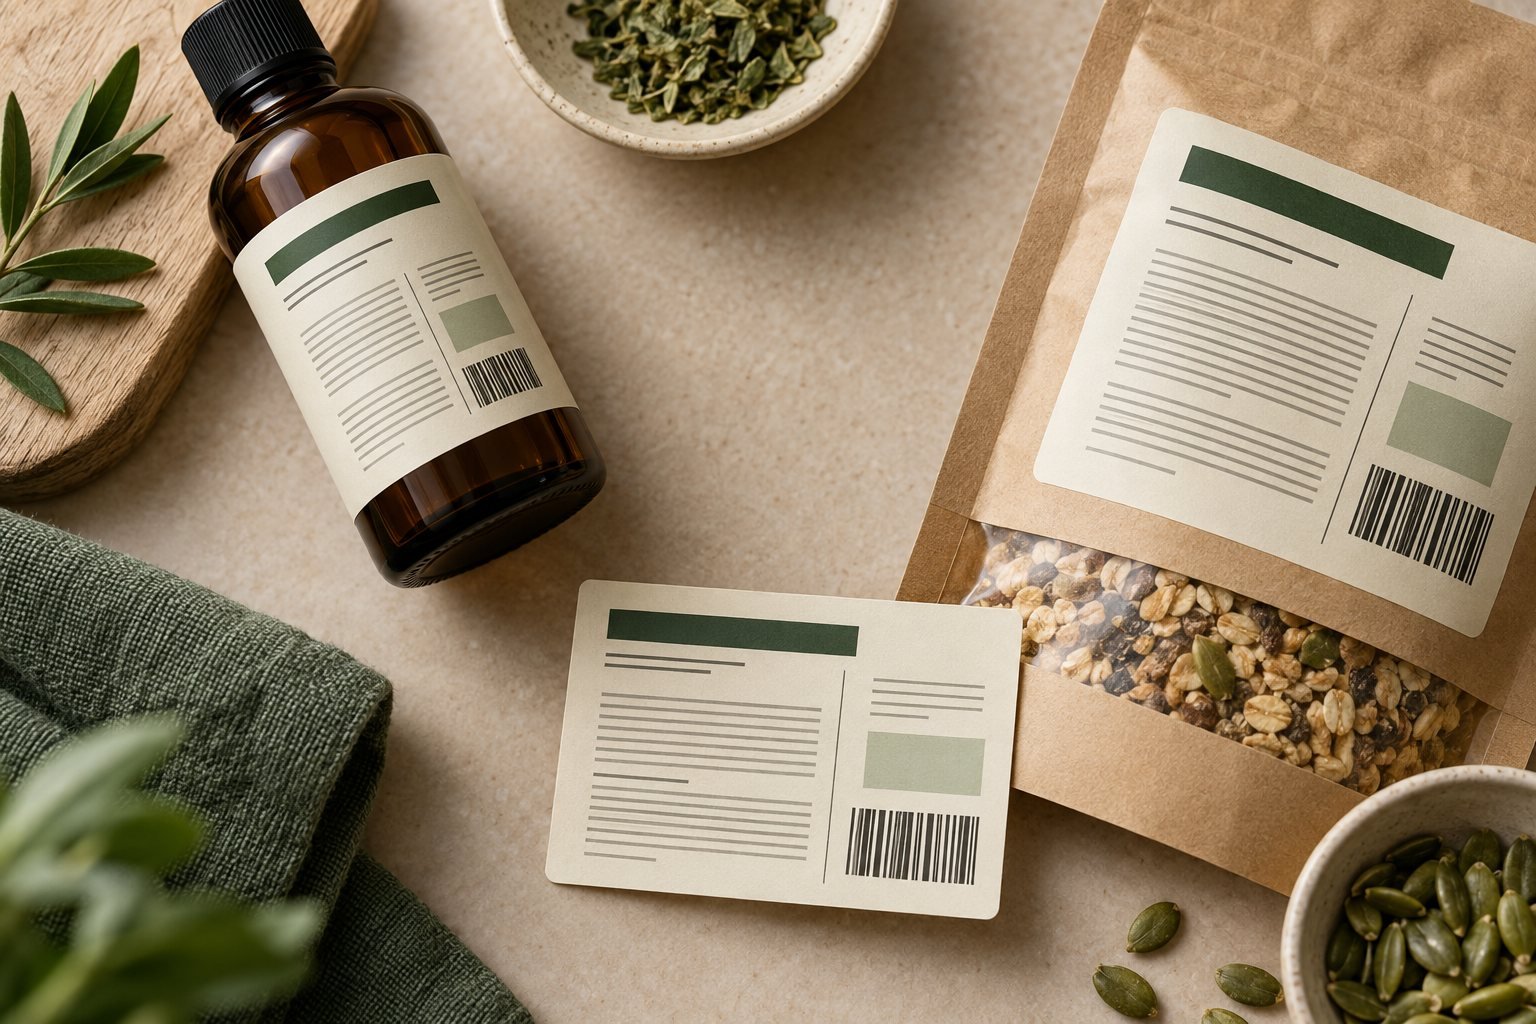
Effective product information labels combine accurate copy, readable type, a barcode that scans and a material suited to the packaging. Preparing these details before printing helps customers understand the product and reduces avoidable revisions for businesses in Jeddah and across Saudi Arabia.
Start with the information your buyer needs, then design the space around it. Shrinking every line to fit a small label can make a tidy screen layout difficult to read on the finished package.
Prepare the information before the artwork
- A clear product name and description.
- Ingredients and net weight or volume, where applicable.
- Required information for the product category, such as applicable warnings, storage instructions or dates.
- The product identifier and barcode appropriate to your sales system.
- Responsible business details and useful contact information without crowding essential copy.
This is an artwork planning checklist, not a complete compliance checklist. Food and cosmetic requirements differ. For packaged foods, the SFDA nutrition labelling guide (Arabic PDF) states that label information must be in Arabic and that additional languages must match it. Check the requirements that apply to your product before approving the design.
Make product information labels readable at actual size
Group related details under short headings. Use clear contrast and adequate spacing, then print a proof at the intended size. Screen zoom can hide text that is too small to read comfortably.
Measure the usable area of the container, including curved surfaces and seams. When information does not fit, discuss a larger label or a front-and-back layout instead of removing essential content. For bilingual layouts, see our Arabic-English product label layout guide.
Check the barcode as well as the print
Avoid stretching or squeezing barcode artwork. Preserve the required blank space around the symbol and use dimensions and contrast appropriate to its type. The GS1 barcode quality checklist covers symbol size, quiet zones, contrast and print quality.
Test the printed sample after applying it to the actual container, using a scanner suited to the sales environment. Scanning an image on a screen does not validate the finished label, and one successful scan is not a substitute for formal verification when your retailer requires it.
Choose the material for the real conditions
Dry accessories, chilled food and bathroom products face different conditions. Discuss the face material, adhesive and protective finish together, then test a sample under the expected conditions. The word “vinyl” alone does not establish freezer suitability, heat resistance or food-contact approval.
Browse sticker printing options with your container and use case in mind. Our guide to labels peeling in heat and humidity explains related application considerations. For an irregular shape, review die-cut sticker file preparation.
Before you approve the batch
- Proofread the final product data and both languages where used.
- Check type size and placement on the actual container.
- Test adhesion and barcode scanning on a printed sample.
- Approve one clearly identified final artwork version.
Frequently asked questions
Does high print resolution guarantee a scannable barcode?
No. Correct data, symbol type, size, contrast, placement and material also matter. Test the finished sample.
Can I reuse another product’s information layout?
You can use it for visual inspiration, but the required information depends on your own product category and market.
What should I send with my enquiry?
Send package dimensions, final copy, quantity and storage conditions to Paper Ink on WhatsApp. Ask the team to confirm suitable print options and delivery to your city.
