
Paper Ink Blog
How Custom Stickers Are Printed and Cut: From File to Finished Roll

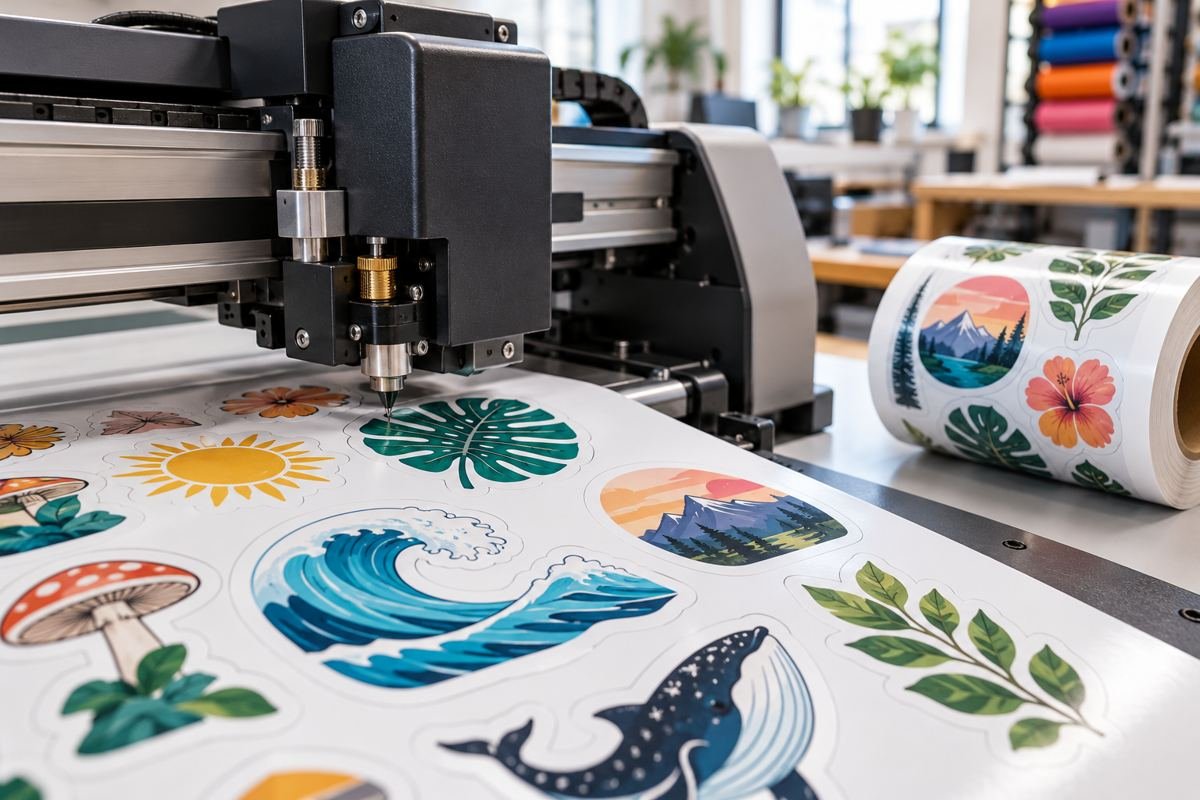
Short answer: sticker printing and cutting is a short workflow. Custom stickers are printed on adhesive stock with a backing liner, protected with an optional laminate, then cut by a machine that follows a vector cut line (CutContour) drawn around your design. Excess material is weeded away and the stickers are delivered on sheets or rolls. Most quality issues are decided before printing: resolution, bleed, safe margins and a clean, closed cut line.
“Satisfying sticker printing” clips keep trending because the blade gliding around a shape looks effortless. Behind it is a short, precise workflow. Knowing it helps you prepare artwork that cuts as cleanly as the videos.
The six steps of sticker printing and cutting
- Artwork prep: design at the final size with enough resolution, 2–3 mm bleed and a safe margin for text.
- Cut line: a closed vector path, usually named CutContour, that defines the final shape.
- Printing: designs are nested on a sheet or roll to use the material efficiently.
- Lamination (optional): gloss or matte film for scratch and moisture resistance.
- Cutting: the cutter reads registration marks and cuts each design (kiss-cut or die-cut).
- Weeding and finishing: waste material is removed, then rolls or sheets are trimmed and packed.
Kiss-cut vs die-cut vs straight cut
| Cut type | What it does | Best for |
|---|---|---|
| Kiss-cut | Cuts the sticker layer only; liner stays intact | Sticker sheets, packaging rolls |
| Die-cut | Cuts through sticker and liner in the design’s shape | Single giveaway stickers, premium packaging |
| Straight / shape | Square, rectangle, circle or oval | Product labels, jars, boxes |
Browse every format in our Sticker Printing category. If you are unsure which size fits your use, the common sticker size guide lists typical dimensions, and the die-cut sticker materials guide compares vinyl, paper and clear stock.
What makes a cut look as clean as the videos
- Simple, closed outlines: very thin spikes and tiny gaps are hard to weed.
- Enough bleed: prevents a white edge if the cut shifts slightly.
- Spacing between designs: gives the blade a clean path.
- CMYK artwork: reduces the gap between screen colour and print.
Before you send files, run through the sticker order checklist. Customers in Jeddah who want a local option can see how ordering and delivery work on our sticker printer near me in Jeddah page. For general background on sticker types, see Sticker (Wikipedia).
Top 10 Practical Recommendations for Sticker Printing and Cutting
These steps keep sticker printing and cutting predictable from file to finished roll. Apply them before you send artwork.
- Draw one closed CutContour path. An open or broken path confuses the cutter, so close every shape.
- Add 2-3 mm of bleed. Colour that runs past the cut line prevents a white edge if the blade shifts slightly.
- Keep text inside a safe margin. Text too close to the edge risks being clipped.
- Choose the cut type by use. Kiss-cut suits sheets and die-cut suits single pieces, as explained in our die-cut sticker materials guide.
- Simplify very thin details. Tiny spikes and gaps are hard to weed, so round them off.
- Leave space between designs. Clear spacing gives the blade a clean path on the sheet or roll.
- Work in CMYK. This narrows the gap between screen colour and print.
- Pick the finish for the job. Compare glossy, matte and spot UV before you decide.
- Decide sheets or rolls early. Our sheets vs rolls comparison helps you match format to order size.
- Approve the free digital proof. Check the cut line on screen, then confirm through WhatsApp before printing.
What’s New as of October 2026
We reviewed sticker and label industry news up to 27 October 2026. We did not find a confirmed update that changes how stickers are cut or how files should be prepared.
The core idea is unchanged: kiss cutting slices only the top layer, as Wikipedia’s page on web die cutting describes. For that reason, we still check your cut line on the proof before printing.
Frequently Asked Questions About Sticker Printing and Cutting
What is a CutContour line?
It is a vector path drawn around the design in the print file. The cutting machine follows it to shape each sticker.
Do I have to prepare the cut line myself?
No. The Paper-Ink team can prepare the file and cut line, and you review the result in the free digital proof.
What is the difference between kiss-cut and die-cut?
Kiss-cut cuts only the sticker layer and leaves the backing intact. Die-cut cuts through both, following the design shape.
Why do some stickers have a white edge?
Usually the artwork has no bleed. Extending colour past the cut line prevents it.
How long does sticker printing take?
Most orders take 3-5 working days after proof approval, then 24-72 hours of shipping.
Can I see the cut before printing?
Yes. We send a free digital proof so you can approve colours, size and the cut line first.
Do you deliver outside Jeddah?
Yes, we deliver across Saudi Arabia and to the GCC. Shipping is free for orders of 250 SAR and above.
Where can I learn more about preparing files?
Read our die-cut sticker file preparation guide for cut lines, bleed and safe margins.
Get your stickers cut right
Send your artwork or idea on WhatsApp. We prepare the cut line and send a free digital proof before printing. Shipping is free within Saudi Arabia on orders of SAR 250 or more.
Ready to print your design?
Choose your sticker type and set your specifications. We send a free digital proof before printing, and there is no minimum order.
Browse sticker typesOrder custom die-cut stickersBrowse die-cut stickers