

Paper Ink Blog
How to Turn Travel Photos Into Wall Art That Doesn’t Look Generic

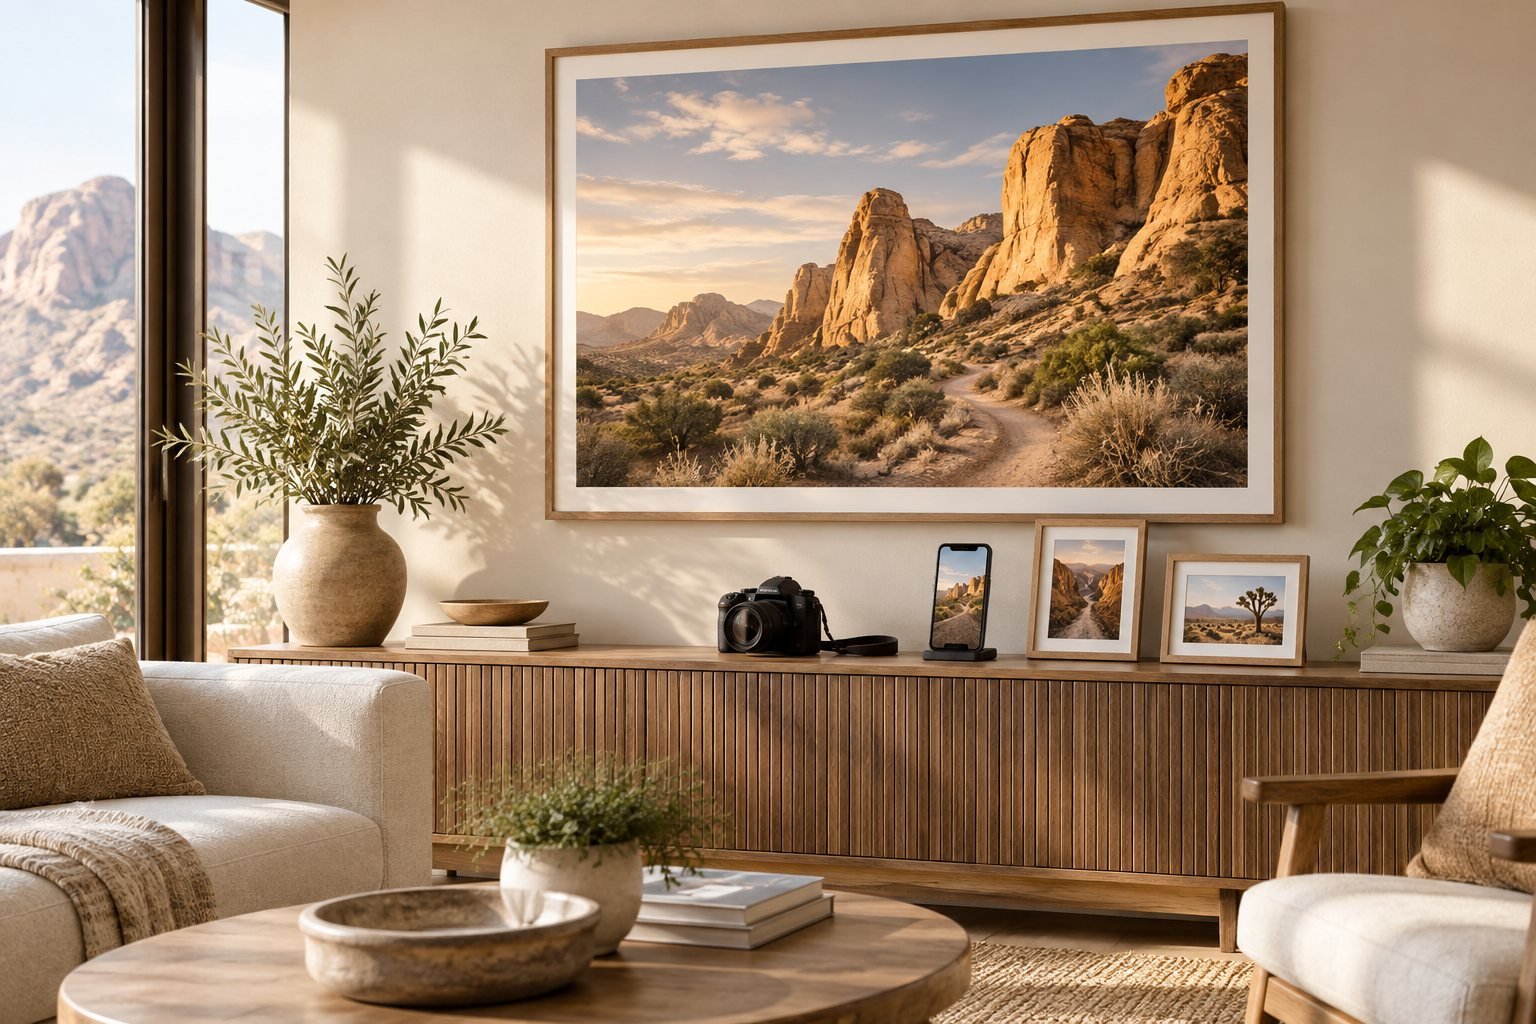
Start with one photo that actually stops you when you scroll past it — not necessarily the technically sharpest one, the one with an actual memory attached. Technical quality is fixable in editing. A forgettable photo isn’t.
Why Most Travel Photo Wall Art Ends Up Looking the Same
Search “travel photo wall art” and you’ll find dozens of guides pointing you toward the same formula: a symmetrical grid, matching frames, a mix of landscape shots. That’s not bad advice, but it’s also how you end up with a wall that looks like stock photography instead of your actual trip. The guides rarely mention the part that matters more than layout: whether the photo itself was worth blowing up in the first place.
Picking the Photo That Actually Deserves the Wall
Skip the “objectively prettiest” shot in favor of the one with real contrast and detail that holds up at scale — avoid anything shot in low light or heavily digitally zoomed, since both lose sharpness fast once you go large. And favor a photo with a specific memory attached over a generic postcard-style landscape; that specificity is exactly what keeps you looking at it in six months instead of it fading into the wall.
One Statement Piece vs. a Gallery Wall
A multi-photo gallery wall can genuinely work, but it demands real coordination — consistent framing, spacing, and a color thread running through the set, or it reads as clutter rather than a curated wall. One large, well-chosen piece sidesteps that problem entirely and tends to carry more visual weight than five smaller photos competing for attention.
The Resolution Problem Nobody Mentions
Most guides skip this: your maximum usable print size is capped by your original photo’s resolution, not your enthusiasm for it. A photo shot on a modern phone in daylight usually holds up at medium-to-large formats; a photo that’s been compressed (screenshotted, re-saved from WhatsApp, pulled off social media) loses detail fast once enlarged, no matter how good it looked on your phone screen.
Common Mistakes
- Picking the most “picturesque” photo instead of the one with real personal meaning.
- Mixing frame styles or aspect ratios with no unifying thread.
- Printing a compressed, re-saved copy instead of the original file.
- Going straight to the largest available size without checking the source resolution first.
FAQ
What makes a travel photo good for large-format printing?
High original resolution (not a compressed re-save), good contrast, and minimal digital zoom. Low-light shots tend to degrade fastest at scale.
Is one large photo better than a gallery wall of several?
For visual impact, usually yes — one well-chosen piece avoids the coordination problems (mismatched frames, uneven spacing) that make gallery walls look cluttered rather than curated.
Can I print an old or low-resolution photo?
At a smaller size, generally yes. The larger you want it printed, the more the original resolution actually matters.
Where should a printed photo file come from?
The original camera roll file whenever possible — not a screenshot or a copy that’s been through WhatsApp or social media compression, both of which quietly strip detail.
Before you settle on a print method, it’s worth knowing the photo itself can glow instead of just sitting flat on the wall — LumiPoster by Paper Ink lets you upload your own photo and preview it at 32×48cm before ordering, so the image stops living exclusively on your phone.
Ready to print it? Turn a travel photo into wall art, or compare formats in our wall art buying guide.
