
Paper Ink Blog
How to Turn Travel Photos Into Wall Art That Doesn’t Look Generic

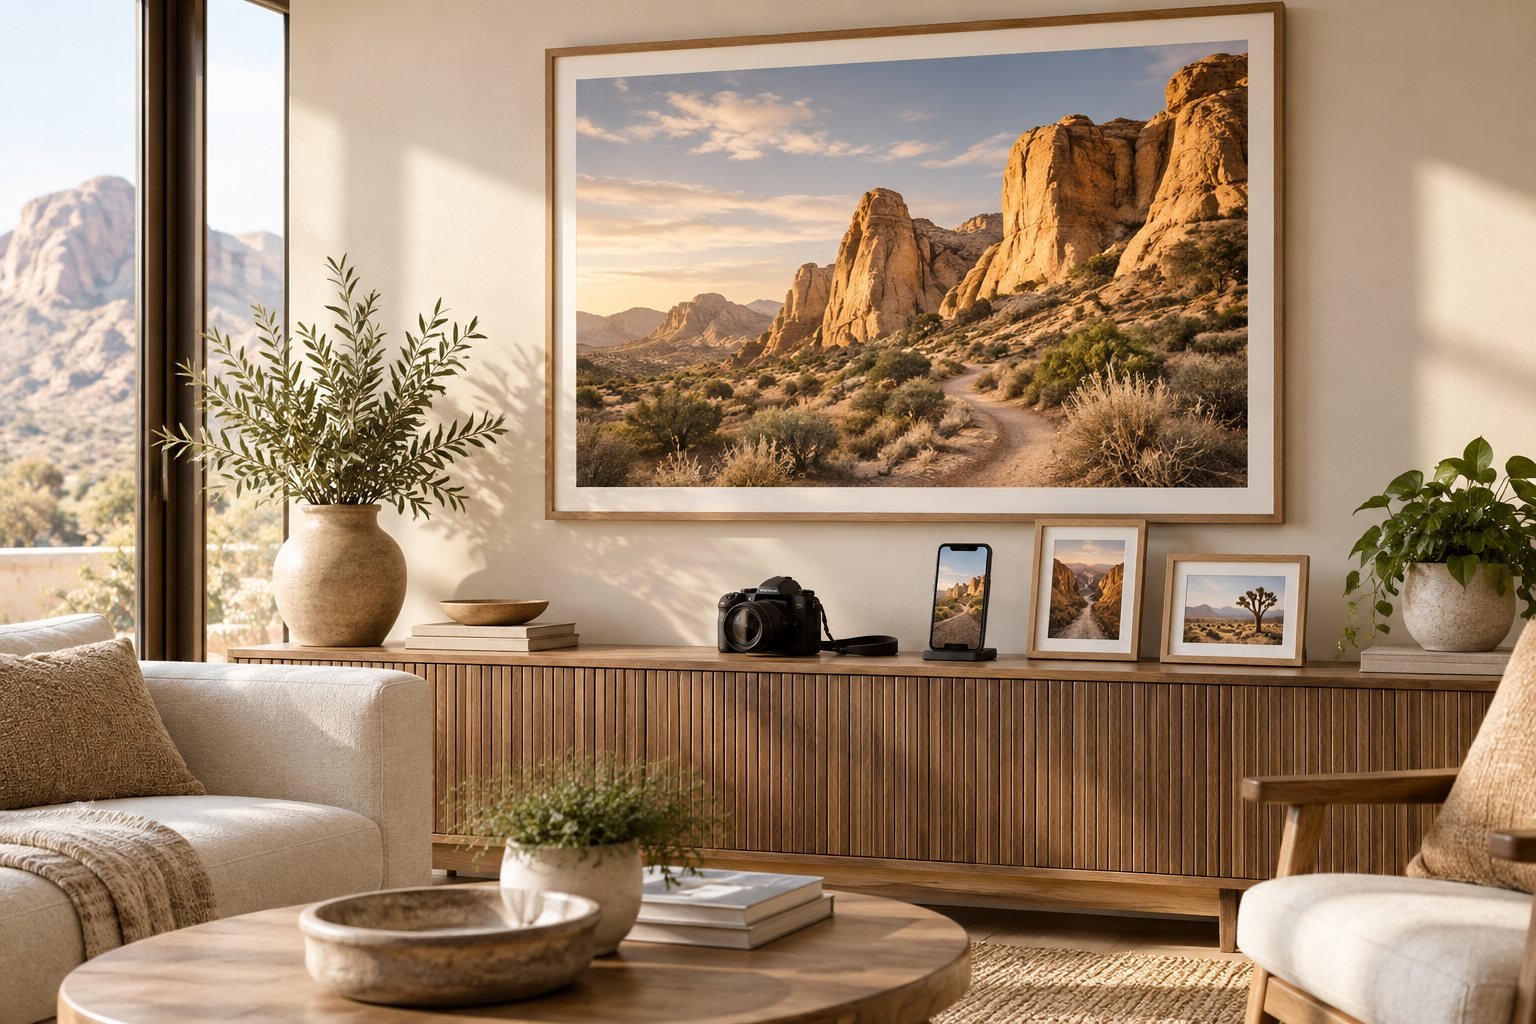
For travel photo wall art, start with one photo that actually stops you when you scroll past it — not necessarily the technically sharpest one, the one with an actual memory attached. Technical quality is fixable in editing. A forgettable photo isn’t.
Why Most Travel Photo Wall Art Ends Up Looking the Same
Search “travel photo wall art” and you’ll find dozens of guides pointing you toward the same formula: a symmetrical grid, matching frames, a mix of landscape shots. That’s not bad advice, but it’s also how you end up with a wall that looks like stock photography instead of your actual trip. The guides rarely mention the part that matters more than layout: whether the photo itself was worth blowing up in the first place.
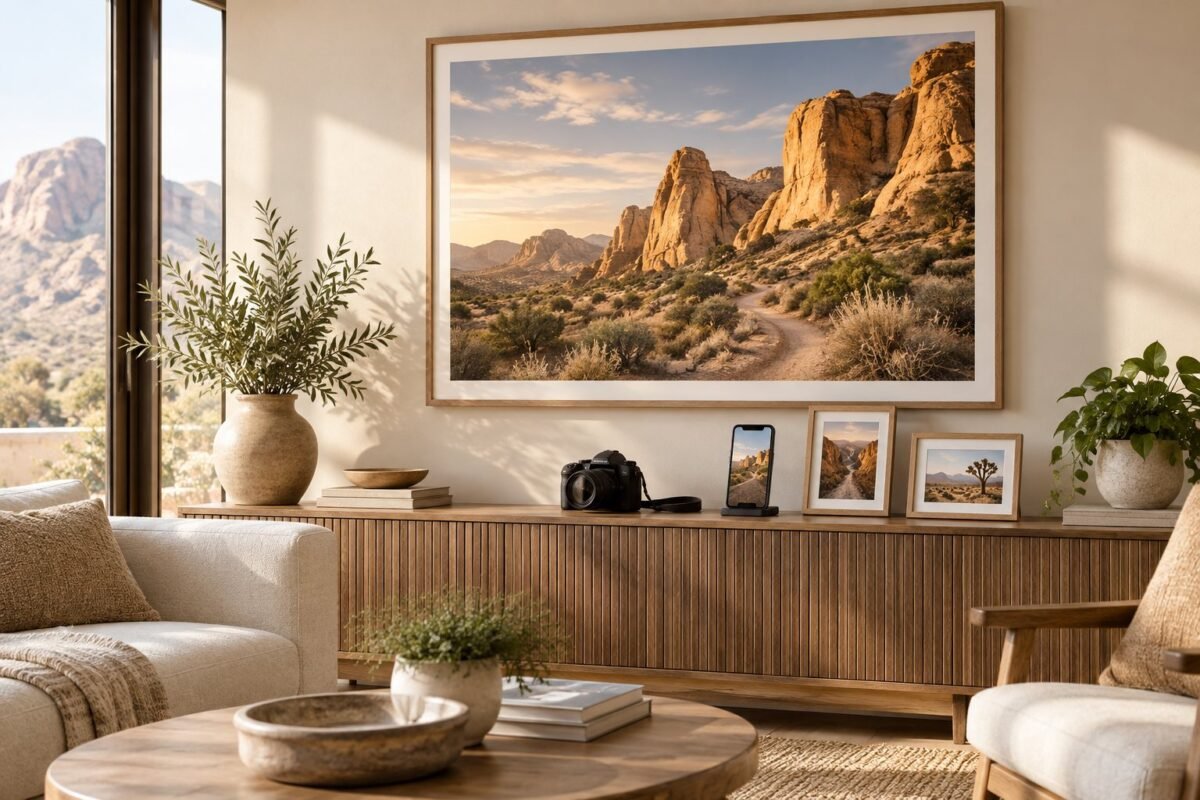
Picking the Photo That Actually Deserves the Wall
Skip the “objectively prettiest” shot in favor of the one with real contrast and detail that holds up at scale — avoid anything shot in low light or heavily digitally zoomed, since both lose sharpness fast once you go large. And favor a photo with a specific memory attached over a generic postcard-style landscape; that specificity is exactly what keeps you looking at it in six months instead of it fading into the wall.
One Statement Piece vs. a Gallery Wall
A multi-photo gallery wall can genuinely work, but it demands real coordination — consistent framing, spacing, and a color thread running through the set, or it reads as clutter rather than a curated wall. One large, well-chosen piece sidesteps that problem entirely and tends to carry more visual weight than five smaller photos competing for attention.
The Resolution Problem Nobody Mentions
Most guides skip this: your maximum usable print size is capped by your original photo’s resolution, not your enthusiasm for it. A photo shot on a modern phone in daylight usually holds up at medium-to-large formats; a photo that’s been compressed (screenshotted, re-saved from WhatsApp, pulled off social media) loses detail fast once enlarged, no matter how good it looked on your phone screen.
Common Mistakes
- Picking the most “picturesque” photo instead of the one with real personal meaning.
- Mixing frame styles or aspect ratios with no unifying thread.
- Printing a compressed, re-saved copy instead of the original file.
- Going straight to the largest available size without checking the source resolution first.
Top 10 Practical Recommendations for Travel Photo Wall Art
These ten steps help your travel photo wall art come out sharp and personal. Run through them before you upload a file.
- Pick the photo with a memory. A shot tied to a real moment keeps pulling your eye long after a postcard-perfect one fades.
- Start from the original file. Download the full-quality version, because Google Photos explains that its storage-saver mode compresses images.
- Skip WhatsApp and social copies. They are compressed, so detail disappears as soon as you enlarge them.
- Match resolution to size. The GalleryPlanner resolution guide shows how viewing distance changes the pixels you need.
- Crop to the print ratio. Crop to 2:3 before ordering a 32×48 cm piece so nothing important gets cut.
- Leave breathing room. Keep the main subject away from the edges and out of the corners.
- Prefer daylight shots. Low-light photos degrade fastest at large sizes.
- Choose one statement piece. A single large print carries more weight than five small ones, as our wall art buying guide explains.
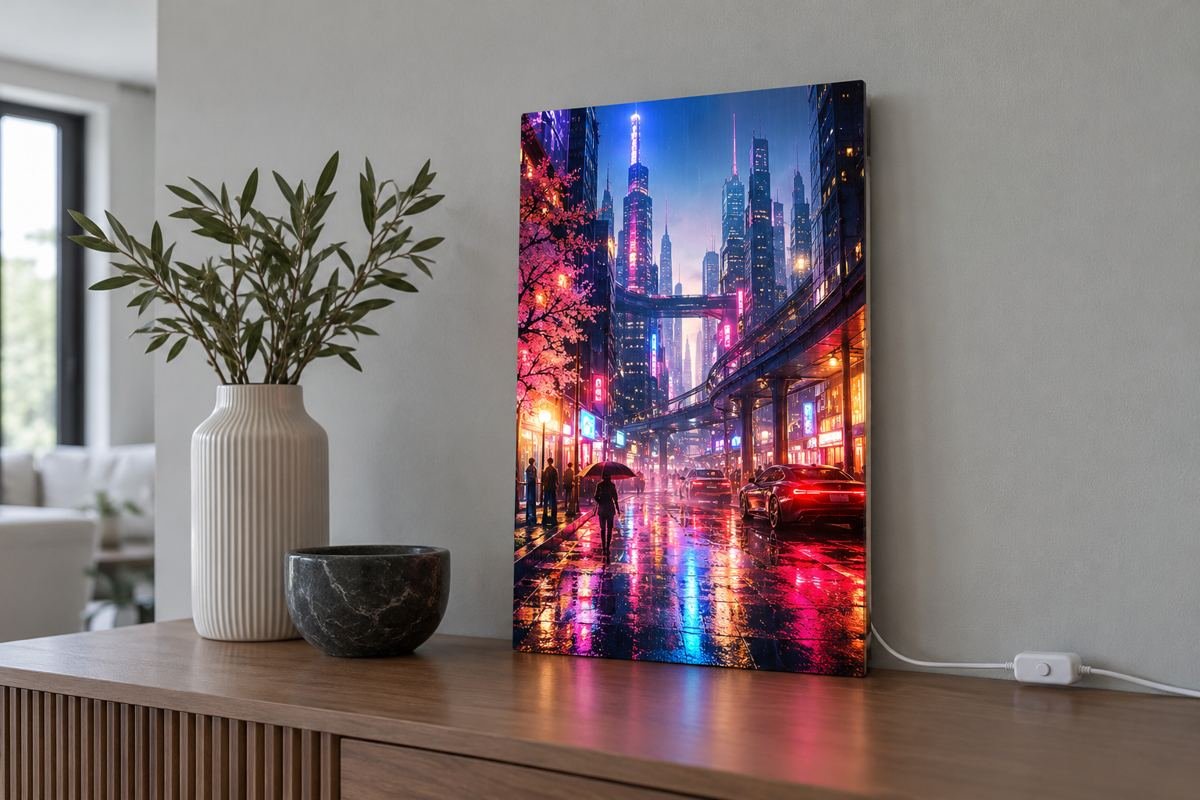
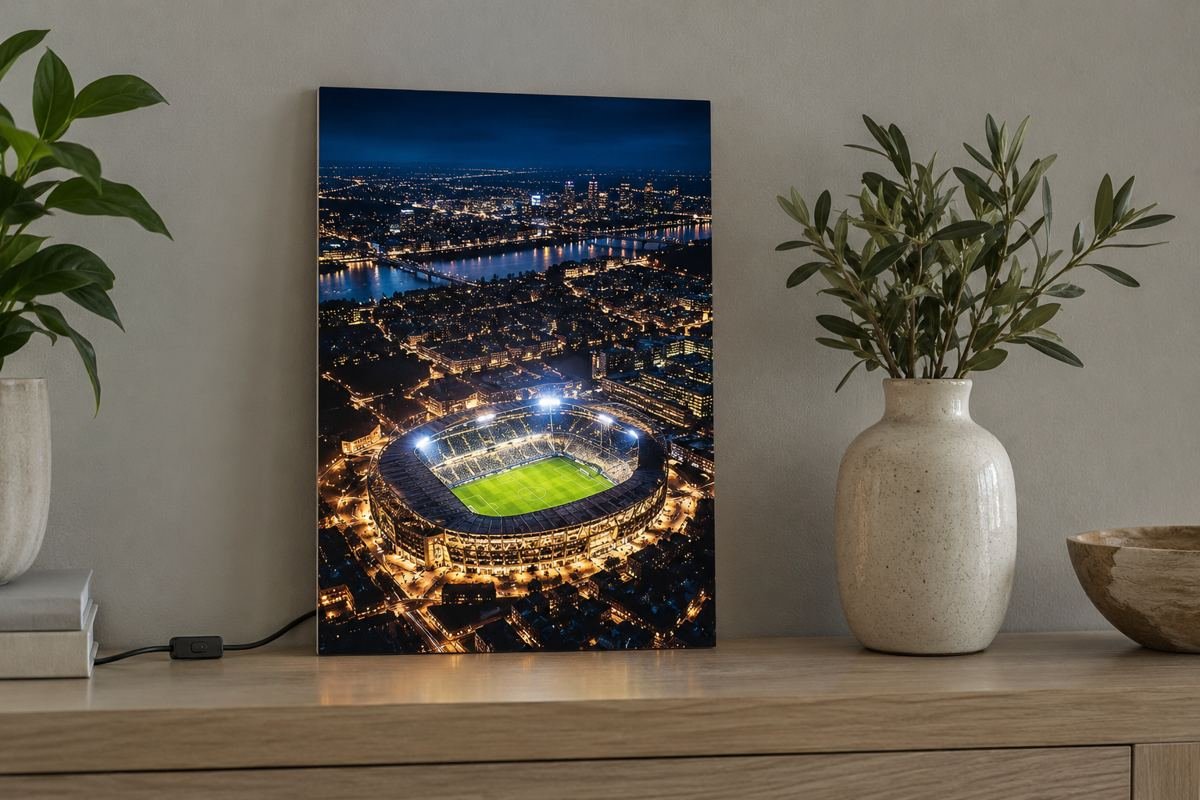
- Compare your options. Read ready-made design or your own photo and consider illuminated wall art for evening glow.
- Approve a proof first. You get a free digital proof, and most orders take 3-5 working days plus 24-72 hours of shipping, so request a quote or message us on WhatsApp.
What’s New as of October 2026
We found no confirmed new development in 2026 that changes how travel photos should be prepared for printing. So we are not adding news we could not verify.
What is worth re-checking is how your photos are saved. According to the Google Photos help page, Original quality keeps the resolution you shot. Storage saver compresses photos and resizes anything above 16 megapixels down to 16.
The same page recommends Original quality for large prints such as banners. Meanwhile the GalleryPlanner guide suggests about 300 PPI at arm’s length and roughly 150 PPI beyond five feet. Therefore download the original before you order a large piece.
Frequently Asked Questions About Travel Photo Wall Art
What makes a travel photo good for large-format printing?
High original resolution (not a compressed re-save), good contrast, and minimal digital zoom. Low-light shots tend to degrade fastest at scale.
Is one large photo better than a gallery wall of several?
For visual impact, usually yes. One well-chosen piece avoids the coordination problems, such as mismatched frames and uneven spacing, that make gallery walls look cluttered.
Can I print an old or low-resolution photo?
At a smaller size, generally yes. The larger you want it printed, the more the original resolution matters.
Where should a printed photo file come from?
The original camera roll file whenever possible. Avoid screenshots or copies that have been through WhatsApp or social media compression.
What resolution do I need for a large travel print?
It depends on viewing distance and size. As a rule of thumb, larger prints viewed from farther away can use fewer pixels per inch, but the file still needs enough total pixels.
Does Google Photos compress my originals?
Only if you choose Storage saver, which compresses photos. Original quality keeps your resolution, so choose it for photos you plan to print.
Can I preview my travel photo before ordering?
Yes. LumiPoster lets you upload your own photo and preview it at 32×48 cm, and a free digital proof arrives before printing.
How long does an order take?
Most orders take 3-5 working days, then 24-72 hours of shipping within Saudi Arabia and the GCC.
Before you settle on a print method, it is worth knowing the photo itself can glow instead of just sitting flat on the wall. LumiPoster by Paper Ink lets you upload your own photo and preview it at 32×48cm before ordering, so the image stops living exclusively on your phone.
Ready to print it? Turn a travel photo into wall art, or compare formats in our wall art buying guide.
Browse also: Sticker Printing · Paper Prints · Paper-Ink home page