
Paper Ink Blog
Corporate Onboarding & Welcome Kits

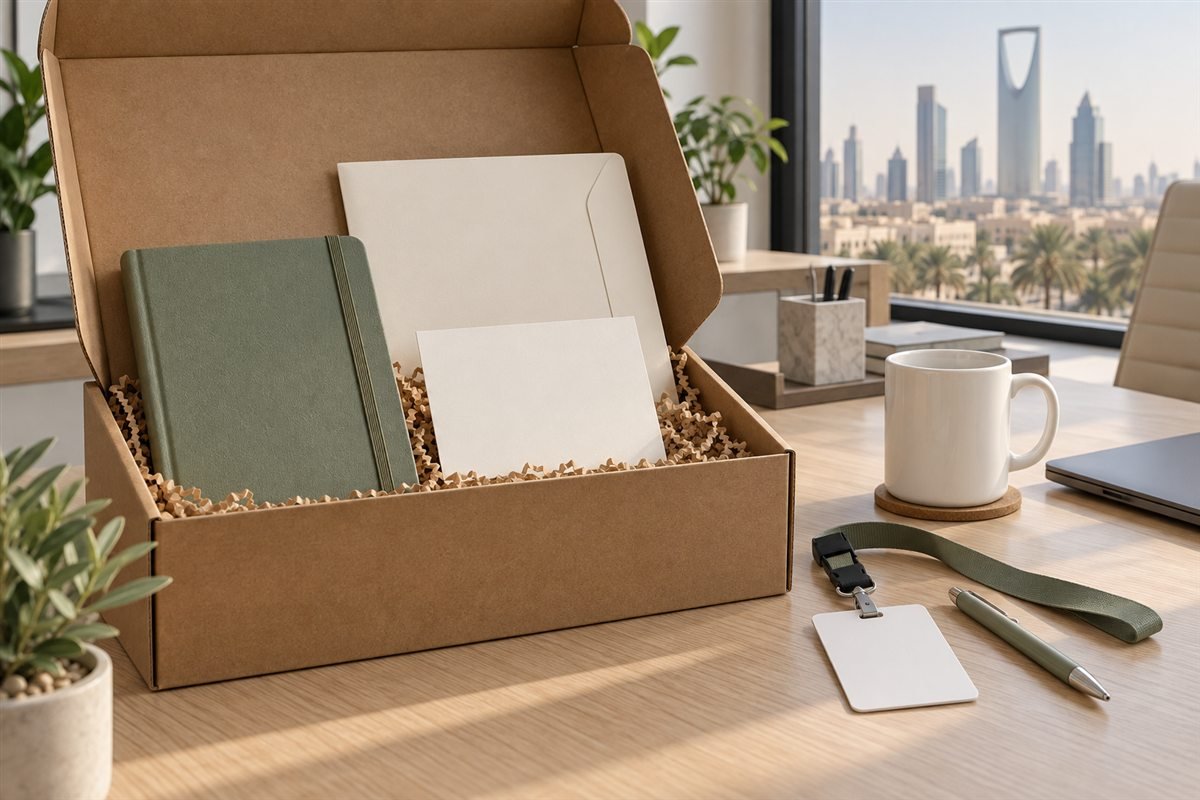
Corporate welcome kits are most useful when they support a new employee’s first day. Start with the information and everyday items the person needs, then add a small gift if the budget allows. This guide focuses on contents, quantities and assembly; the companion design guide covers Arabic and English artwork.
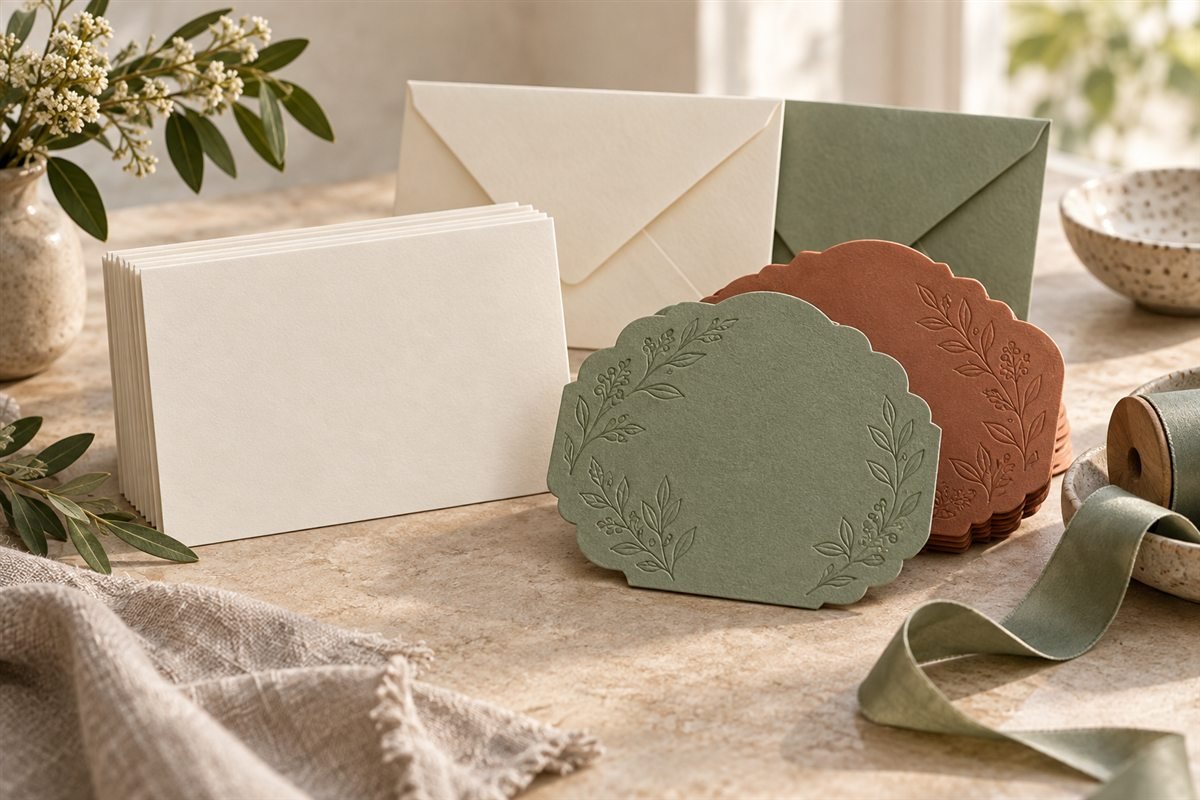
Choose useful contents for corporate welcome kits
A practical starting set is a welcome card, a folder for the first-day schedule, a notebook and pen. Add a badge if the role requires one, and a mug or other item only if it will be useful. These are planning suggestions, not mandatory components. Match the set to office, remote or field-based employees.
Combine paper print materials with a custom welcome card. For a bag that will be reused, review printed bag options and test the capacity with the full set inside.
Give each printed item a purpose
Use the card for a short personal welcome. Put the start time, meeting point, contact person and first-day outline on an insert that is easy to replace. Keep frequently changing details separate from bulk-printed items so one update does not make the whole stock unusable.
A kit supports onboarding but does not replace introductions, role guidance or manager support. CIPD’s induction factsheet describes induction as helping new starters settle in with the knowledge and support needed for their work. Choose printed information that helps deliver that experience.
Plan quantities and responsibilities
Build a list of confirmed starters and an agreed buffer for upcoming hires. Separate reusable stock, such as notebooks, from named cards and badges. Assign one person to approve employee names and another to check packed sets. Record the approved quantities and keep a reference sample.
Work backward from the first day through delivery, assembly, printing and proof approval. Ask the supplier for dates based on the actual order; a generic two- or three-week suggestion is not a delivery commitment. The packaging lead time guide helps separate production milestones from transport.
Check corporate welcome kits before dispatch
Pack one complete sample and lift it by the handles if it uses a bag. Check that the folder is not bent, the mug cannot move freely and the card stays visible when opened. Verify the recipient and delivery location, particularly for remote hires. Store spare printed pieces in a dry place and track the remaining quantity.
For language layout, name spelling and proof checks, use the bilingual welcome kit design guide. For artwork preparation, Adobe’s printer marks guidance explains trim and bleed boundaries; confirm your printer’s required setup before exporting.
Ready to request a quote?
List each item, quantity, personalization requirement and arrival date, then request a detailed quote. Ask for printing, packing and delivery to be separated in the estimate so you can change one part without losing sight of the total budget. Review feedback after the first group joins and improve the next set based on actual use.
