
Paper Ink Blog
Sticker Sheet Printing Guide: Material, Size and Print File Setup

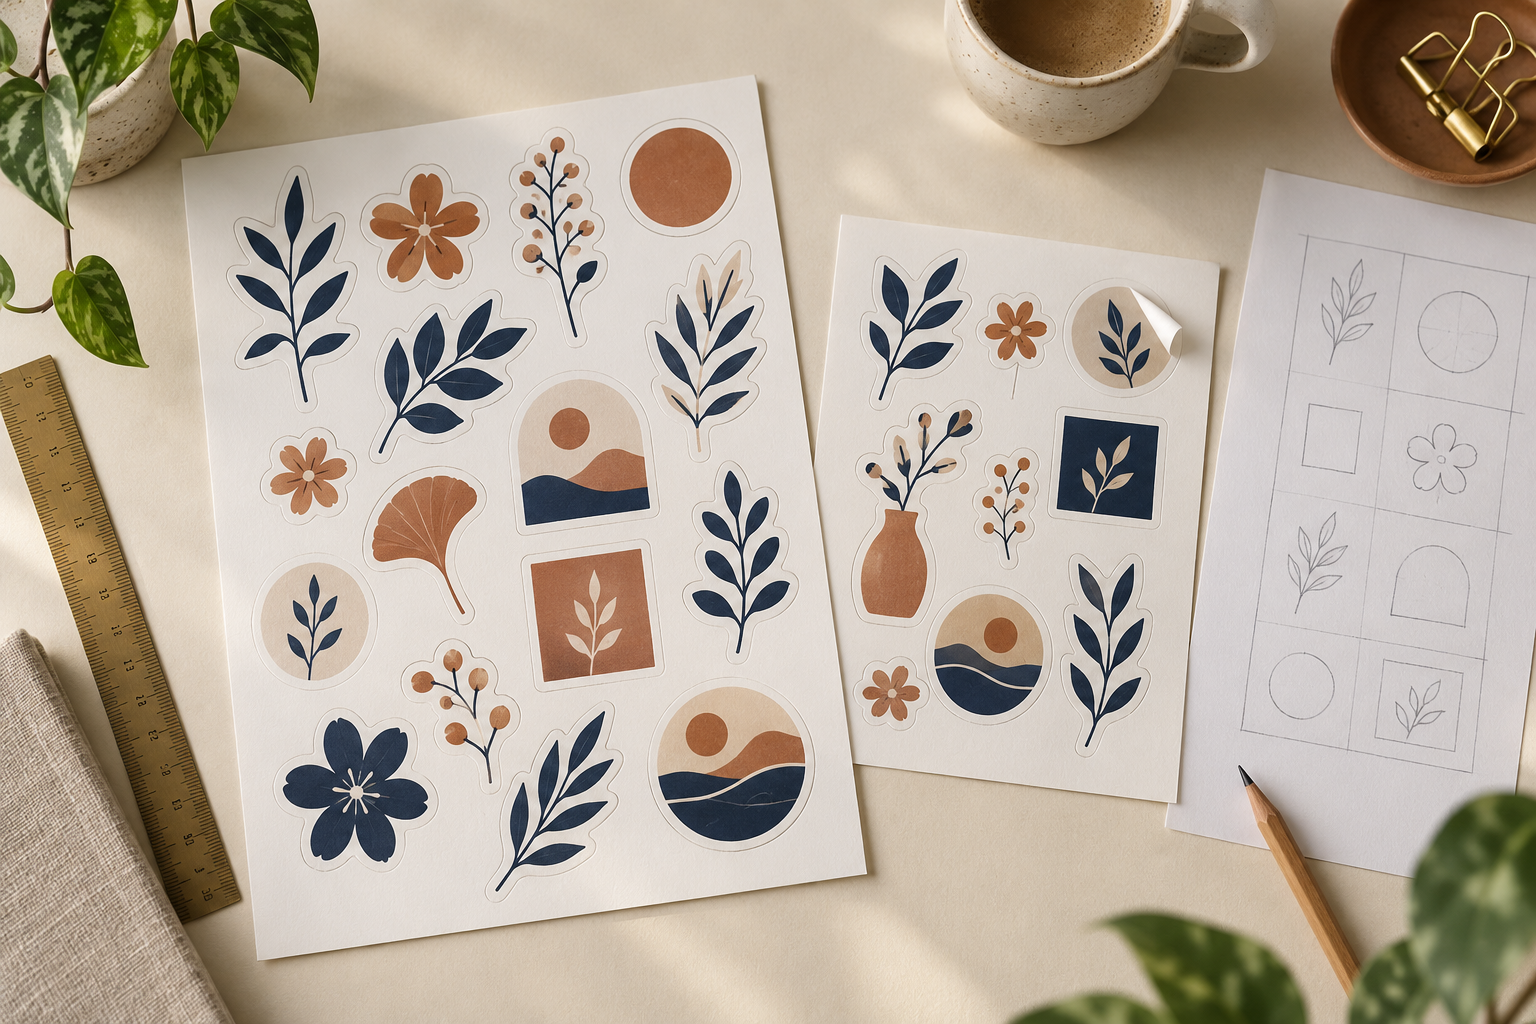
Quick answer: A sticker sheet is one backing sheet that holds several stickers you can peel off and use one by one. Choosing the right sticker sheet for your brand does not depend on the artwork alone. The material, the size of each sticker, the cutting method and the surface it will stick to all decide the real result. For the basics of production, first read how custom stickers are printed and cut.
In this guide you will learn the difference between materials and finishes, how to choose a sticker sheet size, how to prepare the print file, and how to compare quotes without confusing the number of sheets with the number of stickers.
What is the difference between a sticker sheet and a single sticker?
A sticker sheet gathers several designs, or repeated copies of one design, on a single backing paper. A single sticker, in contrast, is delivered as a separate piece. A sheet works well for illustrator collections, product packaging labels and gifts that include a set of matching drawings.
Do not mix up the sheet size and the size of each sticker inside it. You may choose an A5 sheet and place small stickers of different sizes on it. Their final number depends on their dimensions, the cutting gaps and the sheet margins, not on the size name alone.
Sticker sheet materials: which one suits your use?
Paper stickers for dry use
Paper suits notebooks, cardboard boxes and dry inner packaging. Paper materials differ in texture, thickness, adhesive and how well you can write on them. If the pack meets moisture or oil, do not rely on looks alone. Ask for the material specification and test a sample on the real pack.
Plastic materials for moisture and repeated use
Plastic materials such as vinyl or polypropylene may suit packs that face moisture. However, the words “water resistant” do not automatically mean the sticker survives immersion, a dishwasher or long outdoor use. The result depends on the ink, the protective layer, the adhesive and the surface. If you are still deciding, read our guide to paper vs vinyl stickers.
For chilled packs, tell the printer how much condensation to expect. Then test the sticker after cleaning and drying, under normal use, before you approve a large quantity.
Clear stickers and the color of the pack
A clear sticker lets the pack color show through the design, so colors may look different from the preview on a white background. Ask whether a white ink layer can go under the parts that need to stay clear. Also check the design on a background that matches the real product.
Glossy or matte: how to choose the finish
A glossy finish gives stronger reflection and may suit vivid designs. A matte finish usually reduces reflections, but it does not remove glare completely. Choose the finish that fits your brand and the user experience. If you need to write on the sticker, test your pen on a sample, because some matte coatings reject certain pens. Ask about scratch resistance too, since gloss or matte alone does not define durability.
Kiss cut or die cut for a sticker sheet?
First, kiss cut cuts through the sticker layer and leaves the backing sheet intact. It suits a sticker sheet with several stickers that peel off one at a time.
Second, die cut cuts through the sticker and the backing together to deliver separate pieces. You still need to peel the liner before applying the sticker.
If you want to sell a set of drawings on one sheet, start by discussing kiss cut. If you will hand out each sticker separately inside customer orders, die cut may suit you better. State the delivery method clearly when you ask for a quote.
Choosing a sticker sheet size by use
- A6 (10.5 x 14.8 cm): a compact choice for small sets and gifts with limited packing space.
- A5 (14.8 x 21 cm): medium space to gather several designs and show them together.
- A4 (21 x 29.7 cm): more room for varied designs or more copies on one sheet.
These are standard paper dimensions, not a guarantee of the printable area. Ask for the approved product template, because cutting and printing may need extra margins. Print a test at real size on plain paper and try the sticker position on the pack before you send the file.
For product packaging
Measure the pack surface where the sticker will go, especially if it is curved or narrow. Keep key information clear and avoid putting text near the edges. If the design has a QR code, scan a final-size copy before production.
For illustrators and corporate gifts
Arrange the drawings so each piece peels off without touching its neighbors. Keep colors and the logo consistent in corporate gifts, and use artwork you have the right to use. A backing card with the set name helps explain the product when you sell it.
How to prepare a sticker sheet print file step by step
1. Set the dimensions and image resolution
Design at the agreed final size. For raster images, 300 pixels per inch at print size is a common starting point, subject to the printer’s requirements. A 10 cm wide image needs about 1,181 pixels for that resolution. Enlarging a low-quality image does not restore lost detail. Vector artwork, however, keeps sharp edges at any size.
2. Agree on color settings
Ask the printer which color mode and profile it needs. CMYK is widely used for print files, and some workflows accept RGB and convert it during production. Do not assume that converting the file guarantees a match with your screen. Adobe explains how to convert color modes in Illustrator.
3. Add bleed and a safe area
Bleed extends the background beyond the cut line to reduce the chance of an unprinted edge after trimming. A safe area inside the line keeps text and logos away from the cutting edge. A printer may ask for about 3 mm, but the product template and cutting method set the right value, so do not apply one fixed number to every sheet. See Adobe’s guide to printer’s marks and bleeds, then follow the printer’s specification when you export.
4. Prepare cut paths and fonts
Draw a closed path for each sticker if the printer asks for it. Follow the cut layer name, color and settings in the template. Leave the required gap between pieces and avoid narrow details that are hard to cut. Embed fonts in the PDF or convert them to outlines according to the printer’s instructions, and keep an editable copy.
5. Review the proof before approval
A digital proof helps you review layout, text, sizes and cut lines. However, it does not guarantee that the printed color matches the screen, and it does not simulate the material texture. If your brand color is sensitive, discuss a printed sample before full production.
How many stickers fit on an A5 sticker sheet? A worked example
A standard A5 sheet is 148 x 210 mm. For a first rectangular layout, subtract the margins from the sheet width and height. Then count the pieces in each direction, including the gap between them. The calculation shows the layout. It does not confirm a final production number.
Take a hypothetical case: 40 x 40 mm stickers, a 10 mm margin on every side and a 6 mm gap between pieces. The usable area becomes 128 x 190 mm. Two pieces fit across, because three pieces with two gaps need 132 mm. Four pieces fit down the sheet, because they need 178 mm. The result is eight pieces in this example only, before any extra cutting or registration needs.
The number of pieces in each direction is the whole part of (available size + gap) / (sticker size + gap). Do not treat it as the best layout for circles or complex shapes, because rotation and shape limits can change the arrangement. Confirm the layout with the producer, and never squeeze text just to add one more piece.
A6 sticker sheet with your designs: what to confirm
The custom A6 sheet page lists quantities of 30, 60, 120, 250, 500 and 1,000. Its description gives 14.8 x 10 cm, which differs from the standard A6 size above. Therefore, rely on the product dimensions and print template that the team confirms before you prepare the file.
The description mentions glossy and matte, but choosing a quantity does not decide the finish. Confirm the material, cut and finish. Also state whether you supply a ready layout or need the team to assemble the elements, and do not assume that every edit is included at no cost.
Can you mix circles, squares and drawings on one sheet?
A layout can combine them, but the borders, gaps and feasibility must be approved for the chosen product. Start with a list of each design, its size and the number of repeats. Arrange the cut borders, not only the visible images, and check the layout at real size. Mixing shapes does not automatically mean mixing different materials on the same sheet. If you want one clear part and one white part, discuss how it will be made first.
How do you ask for a partial cut with a connected backing?
Write clearly: “I want one backing sheet that holds individually peelable stickers.” State the sheet size, the outer frame, each piece’s size and count, and attach an example of the delivery style. A sheet name, or a “full cut” option in another product, does not prove that partial cutting is available for your file. When a sample is available, check how easily the sticker peels, whether the liner stays intact, and whether the edges are clean.
How much does it cost to print 20 A6 sheets?
The A6 form does not show a quantity of 20, and its published options start at 30. For that reason, do not work out a price for 20 by dividing the price of 30, and do not promise a quantity outside the options without confirmation. First ask whether 20 sheets with your layout are accepted. Then request a total that states the size, cut, material, finish, preparation and shipping. If each sheet holds ten stickers, “20” alone stays unclear. Write the number of sheets, the pieces per sheet and the copies of each layout.
Common mistakes before ordering sticker sheets
- Sending a screenshot instead of the original design file or a print-ready PDF.
- Choosing a material without saying the product meets moisture or rubbing.
- Forgetting to separate the sheet size from the size of a single sticker.
- Placing text or a logo too close to the cut path.
- Approving color from a phone screen alone, without discussing print differences.
- Approving the order before clarifying the number of sheets and the pieces per sheet.
Packing and photographing sticker sheets for sale
Choose a cover that protects the sheet without bending it, such as a clear sleeve with a backing card or a rigid envelope that fits the size. Test the pack after closing it. Do not trust a “do not bend” label without a real test. The packing must not press on the edges or make the sheet hard to peel.
Photograph the full set, then add a close-up of the material and the cut, and a picture that shows the size. State the sheet size, the number of stickers, the material and the cut method clearly. If you mention water or scratch resistance, tie the claim to the real product specification and its conditions. For packaging inspiration, see bilingual labels for pet shops and vet clinics.
How much does a sticker sheet cost to print?
The cost changes with the material, size, quantity, number of designs, cutting method and finish. For that reason, no single price fits every order. Compare quotes with the same specification, and ask whether the price includes design, review, cutting, packing, shipping and tax.
The pricing unit matters most. One hundred sheets with several stickers each are not the same as one hundred single stickers. Ask for a clear statement of pieces per sheet, total sheets, production time after file approval, and delivery time to your city or country.
Order a sticker sheet that fits your brand
Prepare the size, quantity and intended use, then choose the material and cut after reviewing a sample or the specification. Start from the custom A5 sticker sheet page, or contact Paper Ink about printing and packaging needs. Confirm the product options and delivery before you approve the order, or message us on WhatsApp.
Top 10 practical tips for sticker sheet printing
This summary saves time and waste before you order any sticker sheet. Apply it in order before sending your file.
- Define the use first. A packaging sheet differs from a planner sheet, and each needs its own material and size.
- Choose the material by surface. Review the sticker materials before you decide between paper and vinyl.
- Ask for vinyl on wet surfaces. Vinyl suits bottles and daily-use items better than paper.
- Start with a clear size. Compare an A5 sheet with an A6 sheet according to the number of designs.
- Use kiss cut for single peeling. The sheet stays together and each sticker peels separately.
- Leave a gap between stickers. A sufficient gap keeps the cut line from touching a neighboring design.
- Add bleed to the design. It prevents white edges when the cut shifts slightly.
- Convert text to outlines. Then the font will not change when the file opens on another device.
- Request the free digital proof. Check colors, spelling and cut lines before approving.
- Test a small quantity first. Once quality is confirmed, order the larger quantity.
Latest updates as of October 2026
We searched for new changes affecting sticker sheet printing. We found no new confirmed update to the related specifications or rules up to October 2026.
For that reason, we recommend stable references when you prepare your file. Adobe’s printer’s marks and bleeds page explains how to add these marks from the print dialog. Its last visible update was in May 2023, so treat it as a general reference, not as news. Before ordering, confirm the sheet size, material and approved cut method with the printer, because specifications can differ between printers.
Frequently asked questions about sticker sheets
What does sticker sheet mean?
It is one backing sheet that holds several stickers, either repeated or varied. Each sticker peels off independently when kiss cut is used.
Can I put more than one design on the same sheet?
Yes, if the print area and cutting gaps allow it. Send the layout for review and state the count of each design before confirming the order.
How many stickers fit on an A5 sheet?
There is no fixed number. It depends on sticker sizes, shapes and sheet margins, and it is set after the layout is reviewed on an A5 sheet.
Are all sticker sheets water resistant?
No. Resistance depends on the material, ink and adhesive. Ask for a specification that matches your use, and do not assume that splash resistance means immersion or repeated washing.
What is the difference between kiss cut and die cut?
Kiss cut leaves the backing sheet attached under the stickers. Die cut cuts the sticker and backing together to produce separate pieces.
What is the best file format for printing?
A high-quality PDF usually works, and the printer may also need an AI or PSD file for edits. Follow the printer’s requirements before you export.
Can I see a proof before printing a sticker sheet?
Yes. We send a free digital proof before printing so you can review colors and cuts, and our team can help prepare the file.
How long do orders and delivery take?
Most orders are prepared in 3 to 5 working days, then shipping takes 24 to 72 hours. We deliver within Saudi Arabia and to Gulf countries, and shipping is free for orders of SAR 250 or more.
Sources
Ready to print your design?
Choose your sticker type and set your specifications. We send a free digital proof before printing, and there is no minimum order.
Browse sticker typesOrder custom sticker sheetsBrowse sticker sheets
