
Paper Ink Blog
How to Make Die Cut Stickers: Creating the Cut Line in Illustrator, Canva and Procreate

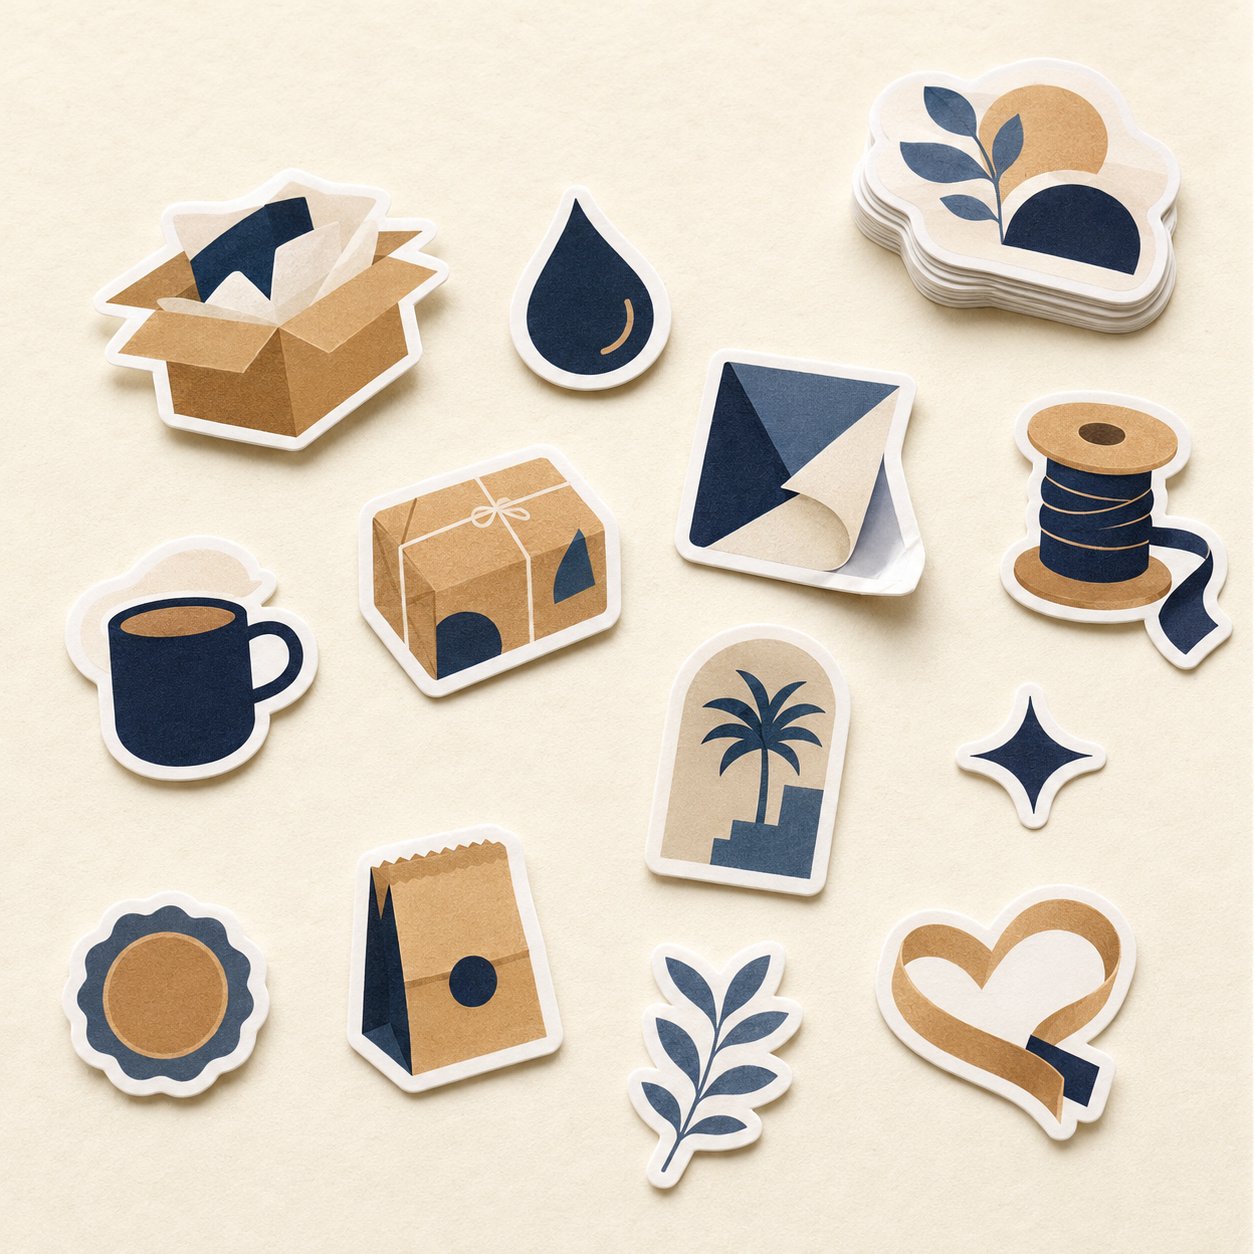
Learning how to make die cut stickers mostly comes down to one thing: a clean, closed cut line that sits on its own layer and never prints. In Illustrator you build it as a true vector path with Offset Path. In Canva and Procreate you add an even white border and export a transparent PNG that the cut path is traced from.
Quick take
- Illustrator gives you a real contour cut line: a vector path on a separate layer, colored with a spot swatch your printer names (often CutContour).
- Canva can’t export a vector cut path. Use it to build a white outline and export a transparent PNG.
- Procreate works in pixels. Build the border on its own layer at final size and 300 DPI.
- Whatever tool you use, check the cut position on a digital proof before anything is printed.
What a die cut line actually tells the cutter
A cutting machine doesn’t “see” your artwork. It looks for one closed path with a specific color or name, follows it with the blade, and ignores everything else. That’s why the die cut line lives on its own layer above the design, with no fill and a hairline stroke, in a color that’s set not to print.
This guide is the hands-on, app-by-app part. If you need the broader file rules first (bleed, safe zones for text, full cut vs kiss cut), read our die-cut sticker file preparation guide.
Three decisions to make before you draw anything
- Final size in millimeters. Set your canvas to the real sticker size. Scaling a file afterward changes both border thickness and image resolution.
- White border or tight cut? A white border gives the blade room for small shifts and looks classic. A tight cut that hugs the artwork looks sleeker but needs precise files and color bleed past the path.
- Keep the silhouette simple. Very sharp points and narrow gaps (between fingers, petals or letters) tear when people peel the sticker. Smooth curves peel cleaner and last longer.
Die cut line in Illustrator: the most precise method
Vector artwork
- Select everything (Select > All) and group it (Object > Group).
- In the Layers panel, duplicate the layer, rename the copy Cut, and hide the original for now.
- With the artwork on the Cut layer selected, go to Object > Path > Offset Path.
- Enter the offset (the distance between artwork and cut) and set Joins to Round for smooth corners.
- If you get several separate shapes, select them all and click Unite in the Pathfinder panel.
- Delete interior holes and leftover shapes. You want one outer path, nothing else.
- Set fill to None and the stroke to a hairline (around 0.25 pt), then show the artwork layer again.
- If the path looks jagged, smooth it with Object > Path > Simplify.
Raster artwork (PNG or JPG)
Offset Path won’t work on pixels directly. Place the image, convert it to vector shapes with Adobe’s Image Trace on a high-contrast setting, expand the result, then repeat steps 3 to 8. For detailed illustrations, drawing the outline by hand with the Pen tool is often faster and cleaner than auto-tracing.
Name the cut color and export
- Create a new swatch as a Spot Color and name it exactly as your printer asks. CutContour is the most common name in print-and-cut software, but always confirm first.
- Keep the Cut layer on top and never merge it into the artwork.
- Save a layered PDF. Don’t use Outline Stroke on the cut line, or the cutter may read it as two paths.
Die cut stickers in Canva: what works and what doesn’t
Canva is great for the design itself, but it doesn’t export a vector cut path or spot colors. The practical workflow is to give your design an even white border, then export a transparent image the cut line can be generated from:
- Create a custom-size design in millimeters that matches the final sticker.
- If your artwork is a photo, remove the background in Edit (the background remover is currently a paid-plan feature).
- Under Shadows, choose Outline (or Glow in white with blur at zero) and adjust the size until the border looks right.
- Download as PNG with a transparent background at the highest quality available.
From there, either send the transparent PNG so the cut line is generated from the edge of the white border, or open it in Illustrator and trace it as above. Avoid soft shadows around the edge; they make any traced path thick and inaccurate.
Contour cut line in Procreate, step by step
Procreate won’t give you a vector path, but it makes a clean white border easy:
- Start a canvas at the final size in millimeters and 300 DPI.
- Duplicate your artwork layers and flatten the copy into one layer; keep the originals untouched.
- Turn on Alpha Lock for the copy, fill it white, then switch Alpha Lock off.
- Apply Adjustments > Gaussian Blur, roughly matching the border thickness you want.
- Use the Automatic selection tool on the blurred layer and adjust the threshold until the selection wraps the shape with smooth edges.
- Create a new layer under the artwork, fill the selection white, and delete the blurred layer.
- Want more control? Draw the border by hand with a hard brush and a higher StreamLine value.
- Hide the background layer and export a transparent PNG.
Which app should you use?
| App | Cut line type | Precision | Best for | What to send |
|---|---|---|---|---|
| Illustrator | Vector path, spot color | Very high | Logos, bulk orders, complex shapes | Layered PDF with a separate cut layer |
| Canva | White border baked into image | Medium | Simple designs, product photos | Transparent PNG at final size |
| Procreate | Pixel-drawn white border | Medium to high | Hand-drawn art and characters | Transparent PNG at 300 DPI |
Mistakes that ruin a cut file
- Open or overlapping paths. The cutter may double-cut or stop. Merge everything into one closed path.
- Thin spikes and narrow gaps. They tear on peeling. Increase the offset until gaps close.
- A cut line that prints. Without a spot color, the line can show up as a visible outline.
- PNG with a white background. Your custom shape turns into a rectangle.
- Low resolution. Small images scaled up give jagged edges.
- Text hugging the cut. A tiny shift can clip a letter.
Prefer to skip the file prep?
You don’t have to master three apps. Paper-Ink offers a design and file-prep service that includes drawing the cut line, and every order gets a free digital proof so you can approve the cut before printing. Browse our custom die cut sticker printing options, or explore practical ways to use die-cut stickers and die-cut sticker materials compared. We deliver across Saudi Arabia and the GCC, with free shipping on orders of SAR 250 or more.
FAQ
How far should the cut line be from the artwork?
There’s no single number for every design. The border should be even, wide enough to absorb small cutting shifts, and wide enough to close narrow gaps in the silhouette. Ask your printer what minimum their cutter works with, then confirm how it looks on the digital proof before you approve production.
Can I make die cut stickers in free Canva?
You can design the artwork and add a white outline on the free plan, but background removal and transparent PNG downloads are currently paid features. Either way, Canva doesn’t export a vector cut path, so the die cut line is generated from the edge of the transparent image afterward.
What color or name should the cut line have?
The most common convention is a spot color named CutContour, but some printers use a different name or color. Ask before exporting. Whatever the name, keep the line unfilled, as a hairline stroke, on its own layer above the artwork so it is cut but never printed.
Is a transparent PNG enough, or do I need a cut file?
A transparent PNG at final size and good resolution is often enough, because the cut path can be traced from its edge or white border. A layered Illustrator PDF with a ready cut line gives you tighter control over the final shape, especially for logos and intricate outlines.
What’s the difference between the cut line and bleed?
The cut line is where the blade goes. Bleed is artwork color extended slightly past that line so no white edge appears if the cut shifts. You need bleed when the cut hugs colored artwork; with a white border around the design, it usually isn’t necessary.
Ready to print? Send us your file or your idea, and we’ll prepare the cut line and share a free digital proof before production.
