
Paper Ink Blog
How to Prepare Sticker Artwork for Print: PDF, PNG, Resolution, and Color

Quick answer: Sticker artwork preparation starts with the final size. Then you check image resolution, color, design margins, and the delivery format. For Paper Ink vinyl orders, prepare a PDF that matches the product page. A PNG may work as a design source, but it is not an automatic replacement for the required print file. Also, converting a weak image to PDF does not add new detail.
The question we want to settle is simple. Is your file ready to send, or does it need a specific fix before you print the quantity? This guide walks you from a logo file to a clear final copy for the printer. It works whether you design the sticker yourself or hand it to a designer.
Start sticker artwork with the final size, not the image size on screen
First, write the width and height with a clear unit. A 5 × 5 cm sticker means 50 × 50 mm after cutting. It does not mean an A4 page with a small logo in the middle. The aspect ratio matters too. Do not stretch a square logo to fill a rectangle. Instead, place it inside the space without distortion.
If you have not chosen a size for your container yet, read our guide to how custom stickers are printed and cut first. After choosing the size, work at the real size. Also, set the extra area outside the cut line separately.
Paper Ink’s print and design policy asks for a 1:1 scale file. It also asks for images at 300 DPI or higher, CMYK colors, fonts converted to outlines, and a 3 mm bleed on every edge. However, follow the order-specific instructions if the printer gives you a different approved template. Good sticker artwork saves time at every step.
One tip for organizing your order: write the number of designs and the quantity of each design. Do not repeat stickers inside a sheet yourself before confirming how the file will be delivered. The order may need a single design that the printer arranges for production.
PDF, PNG, AI, or PSD: which file should you send?
There is a difference between a source file you can edit and the delivery file that printing depends on. Paper Ink accepts several formats. However, the upload field on the vinyl product asks specifically for a PDF. So follow the product page, and do not rely only on a general explanation of allowed extensions.
| Format | When it helps | What to check before delivery | What it does not guarantee |
|---|---|---|---|
| A delivery copy that keeps the layout and may combine text, graphics, and images | Size, image resolution inside it, colors, and fonts | Not every PDF is vector or print-ready | |
| PNG | A raster image or logo source that may support a transparent background | Pixel count at the required size, and logo and background edges | It does not support standard CMYK, and saving it as PDF does not make it vector |
| AI | A working source in Illustrator, especially for graphics and logos | Are the elements truly vector? Are images and fonts complete? | Placing an image inside an AI file does not make the image itself vector |
| PSD | A Photoshop design source that may keep editable layers | Element resolution, required layers, and the final copy | Having layers or a large file is not proof of print clarity |
The comparison relies on the difference between vector graphics and raster images, the PNG specification, and PDF options. Acceptance of each format still depends on the order path. Clean sticker artwork also reduces proof revisions.
Why does a vector file help a logo?
A raster image is made of pixels. A vector drawing describes lines and shapes with mathematical paths. For this reason, vector elements resize without showing pixel squares. However, one file can combine a vector drawing and a raster image, so check each element on its own.
In practice, ask the designer for the original logo file if one exists. Do not use a screenshot instead. If you only have an image, judge it by calculation and inspection, not by the file name.
300 DPI resolution: how many pixels does sticker artwork really need?
When you assess an image inside a design, the more accurate term is PPI, the number of pixels per printed inch. DPI describes printer dots, and it appears as 300 DPI in Paper Ink’s requirements. What matters is that the image has enough pixels at the final size. Seeing the number 300 in a settings box is not enough. Ready sticker artwork makes the order clearer for the printer.
To calculate each dimension, divide the size in centimeters by 2.54. Then multiply the result by 300. For a 5 cm side, 5 / 2.54 × 300 is about 591 pixels.
| Final design size | Pixels at about 300 PPI |
|---|---|
| 3 × 3 cm | 355 × 355 px |
| 4 × 4 cm | 473 × 473 px |
| 5 × 5 cm | 591 × 591 px |
| 6 × 6 cm | 709 × 709 px |
| 8 × 8 cm | 945 × 945 px |
| 10 × 10 cm | 1182 × 1182 px |
These are rounded-up calculations. They are not required sizes or a quality guarantee. The table assumes an image that covers the stated design area, and it does not include bleed. If the logo fills only part of the sticker, calculate the resolution at the printed logo size. For a rectangle, calculate the width and height separately.
Example: the same image works at one size and needs review at a larger size
Here is a hypothetical example for a gift business in Jeddah. It has a 600 × 600 pixel logo and wants it on a square sticker. If the logo fills 5 × 5 cm, its resolution is about 305 PPI. If the owner enlarges it to fill 10 × 10 cm, it drops to about 152 PPI. The pixel count did not change. However, the same pixels now spread over a larger area. Careful sticker artwork protects your final result.
This is a calculation, not a print test result. Even at 305 PPI, check whether the source is clear or already blurry. Also check whether the text is readable at the required size.
How do you check resolution in Photoshop?
Open Image > Image Size and review the pixel dimensions. Turn off Resample while you check the relationship between size and resolution. Then enter the print width while keeping the proportions. This way, you read the real resolution without adding pixels. Adobe explains that image data does not increase just because you change size and resolution, unless you resample.
If you need a larger image, start with a higher-resolution original or a vector logo. Enlarging by resampling changes the pixel count. However, it is not a substitute for reviewing the resulting detail. Good sticker artwork saves time at every step.
RGB or CMYK? Prepare colors for the print path
For this order, follow the CMYK requirement published by Paper Ink. However, converting to CMYK does not guarantee that the screen color matches the print. Adobe explains that colors outside the CMYK range are remapped when you convert from RGB. So keep an editable original before converting.
For execution, ask for the ICC color profile or the approved export setting for the order. If a specification exists, use it. In Photoshop, Edit > Convert to Profile lets you convert to a specific output profile. Do not pick a profile at random just because its name contains CMYK.
Can I save a PNG in CMYK?
No. Standard PNG is not a CMYK format. It supports grayscale, indexed, or RGB images, with transparency depending on the image type. The fix is not to change the extension. Use PNG as a source inside the design program when it fits. Then export the print file in the required format and color path. Clean sticker artwork also reduces proof revisions.
Also note that a transparent background is not an automatic instruction to print white ink. Explain the intended result on the actual material to the printer. Do not treat the background color you see in a file viewer as an execution specification.
Bleed, safe area, and fonts for sticker artwork: a short review that prevents confusion
Bleed extends the design beyond the final edge. This way, the background reaches the edge after cutting. The safe area sits inside the final edge, and you keep text and key elements away from it. The required values depend on the job, and Adobe notes that the printer decides the right bleed.
Here is a calculated example for the published 3 mm rule. A final 50 × 50 mm sticker needs design coverage up to 56 × 56 mm. That is because the background extends 3 mm on each side. The final size stays 50 × 50 mm, and the extra area is cut off. Do not enlarge or stretch the logo with the background. Ready sticker artwork makes the order clearer for the printer.
For the cut path shape and custom cut details, see the die-cut and cut path guide. Do not draw a colored frame inside the design as a cut line unless the printer instructs you to.
As for fonts, convert text to outlines in the sticker file you send to production. Keep an editable original as well. After exporting, check Arabic letter connections, diacritics, phone numbers, and mixed Arabic and English text. Do not check only inside the design program.
How do you save a print PDF without unintended quality loss?
The following sequence is a suggested working list. It is not one universal setting for every design program. Careful sticker artwork protects your final result.
First, save an editable original. Then create a separate delivery copy and select only the pages or designs you need. Name the copy clearly, for example brand_label_50x50mm_v03_PRINT.pdf.
Second, review the image, color, and bleed settings. PDF compression settings can reduce image pixels or quality depending on your choice. So do not blindly choose the smallest file size. Also, do not pass the production copy through heavy compression just to make sending easier.
Third, do not rely on the preset name alone. In Adobe, the High Quality Print preset leaves colors unchanged. Its name does not mean it converted everything to CMYK. Also, PDF/X has different requirements and versions. So do not force a version on the order without agreeing with the printer. Good sticker artwork saves time at every step.
Fourth, open the resulting PDF and inspect it. Confirm the size, pages, details, and backgrounds, and make sure every required element is present. If you have Acrobat Pro, you can use Preflight to check color, fonts, transparency, and resolution against a suitable profile. However, passing an unsuitable check does not prove your order requirements are met.
If you designed in Canva or another tool, apply the same checklist to the output. The required result is not a specific program. It is a file that matches the agreed size, quality, color, and cut.
Should I add registration and crop marks to a sticker sheet?
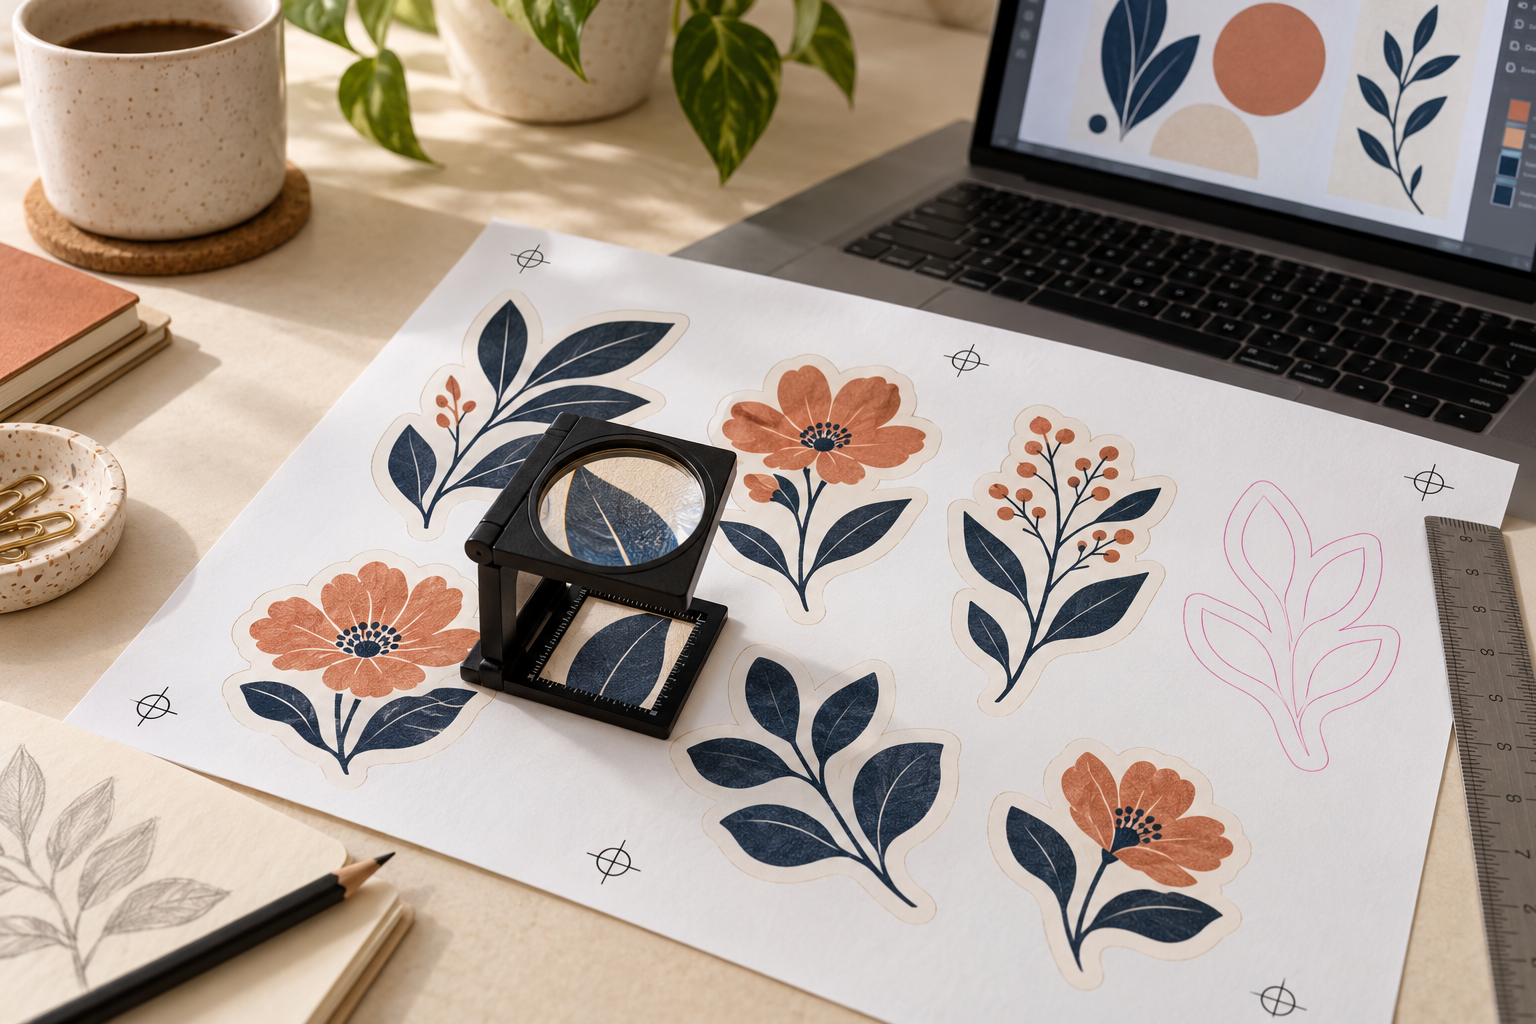
Follow the production template, and do not add random black marks. The cut path defines each sticker’s shape. Registration marks help the cutting system match the position of the drawing. Page trim marks define the trim boundaries. Each has a different function, and a visible mark alone does not guarantee cutting accuracy. Clean sticker artwork also reduces proof revisions.
The team may ask for a file without marks and add them during production. It may also give you a specific template to follow. Do not copy marks from another sheet or place them inside the sticker area. Review the cut path guide, and confirm the spacing and boundaries of each element before export.
When you order an A6 or A5 sheet, send the sheet size, the number of designs, the repeats, and the required separation method. If frame alignment with the edge matters, agree on a suitable sample review. A digital preview does not test the physical cutting result. Keep the approved file and the marks instructions together for reorders.
Does a transparent PNG mean a clear sticker with white ink?
PNG transparency does not define the sticker material or the printed white layer. If you want a light logo on a dark container, review the clear sticker with white ink option. Also confirm where the white goes and how it is prepared. Send the mockup as an explanation separate from the flat production file. A logo image tilted on a container is not a print file.
Checklist before you upload sticker artwork
Review the final copy in this order. The list combines order requirements with a recommended practical check. It is not an automatic certificate that the file is valid.
| Item | Ready when |
|---|---|
| Size | Dimensions and unit are set, and the final size is separate from the bleed |
| Images | Resolution is checked at the size each image will print |
| Text | Spelling, data, and Arabic letters are reviewed in the output PDF |
| Colors | The delivery file follows the agreed color path, not just the extension |
| Design boundaries | Background, text, and cut path follow the order template |
| Version | One approved file per design, with a clear quantity for each |
| Upload | The format matches the product field, and the file opens without error |
Do not approve a proof based only on its general look. Open each design and compare its data and size with your order. A digital preview helps you review the design. However, it is not a printed sample that proves material color or how the sticker holds on a container.
Upload your design with your Paper Ink order, or state the change you need
When you choose custom vinyl sticker printing, upload a PDF and set the dimensions and quantity. Also watch the option that changes the file dimensions. The page explains a file readiness review before production and a digital proof approval. This review is not a promise of free redesign or repair.
If you only have a PNG, or a file that needs preparation, say so in a quote request with the design details. State the required change before approval. Do not send an incomplete copy as if it were ready.
A suggested message: “I have a sticker design in [format]. The final size after cutting is [ ] mm and the quantity is [ ] per design. The original image is [ ] pixels and the current color mode is [ ]. I need confirmation of the right export setting, and any required change and its cost, before approval.”
Top 10 practical tips for preparing sticker artwork for print
- Start with the final size. Create the artboard at the real sticker size.
- Prefer vector files for logos. Vector shapes stay sharp when enlarged.
- Set raster images to 300 DPI at the final size.
- Add bleed around the design to avoid white edges if the cut shifts slightly.
- Keep text inside the safe area, away from the cut line.
- Convert fonts to outlines so they do not change on another computer.
- Prepare colors in CMYK, because colors sometimes shift when converting from RGB.
- Save the PDF without damaging compression, then open and review it before sending.
- Send the original file, not a screenshot or a preview.
- Ask for a free digital proof. We review your file and help prepare it through the quote request page.
Frequently asked questions about preparing sticker artwork
Is PNG good for printing stickers?
It may work as a raster source if its resolution and detail suit the required size. However, the vinyl product here asks for a PDF, and PNG does not support CMYK. So prepare the required delivery copy, or ask before ordering.
Does converting a weak image to PDF make it clearer?
Not by itself. A PDF may contain the same image. So you need a clearer original or suitable processing. A PDF extension does not make the content vector automatically.
How many pixels does a 5 cm sticker need at 300 PPI?
About 591 pixels per side for an image covering 5 × 5 cm, before adding bleed. The number comes from converting the size to inches and multiplying by 300. It does not guarantee the source image is clear.
Should I send a WhatsApp image or a screenshot?
We recommend sending the original file, not a preview or screenshot. What matters is the source quality at the final size, not how clear it looks on a phone.
What is bleed, and how much should I add?
Bleed is extra area outside the cut line that is trimmed after printing. Paper Ink’s policy asks for 3 mm. Check your printer’s specifications.
Do you help prepare the file?
Yes. We help prepare files and send a free digital proof before printing. Contact us on WhatsApp or through the sticker printing section.
Sources
Paper Ink specifications come from the published pages at the time of review. The technical explanation comes from the original documents below. Examples and calculations are educational, not print test results.
- Adobe: Printed image resolution
- W3C: PNG Specification, Third Edition
- Adobe: Raster vs. Vector
Ready to print your design?
Choose your sticker type and set your specifications. We send a free digital proof before printing, and there is no minimum order.
Browse sticker typesOrder custom die-cut stickersBrowse die-cut stickers
