
Paper Ink Blog
How to Print Custom Boxes Step by Step — From Design to Delivery, and Where to Save

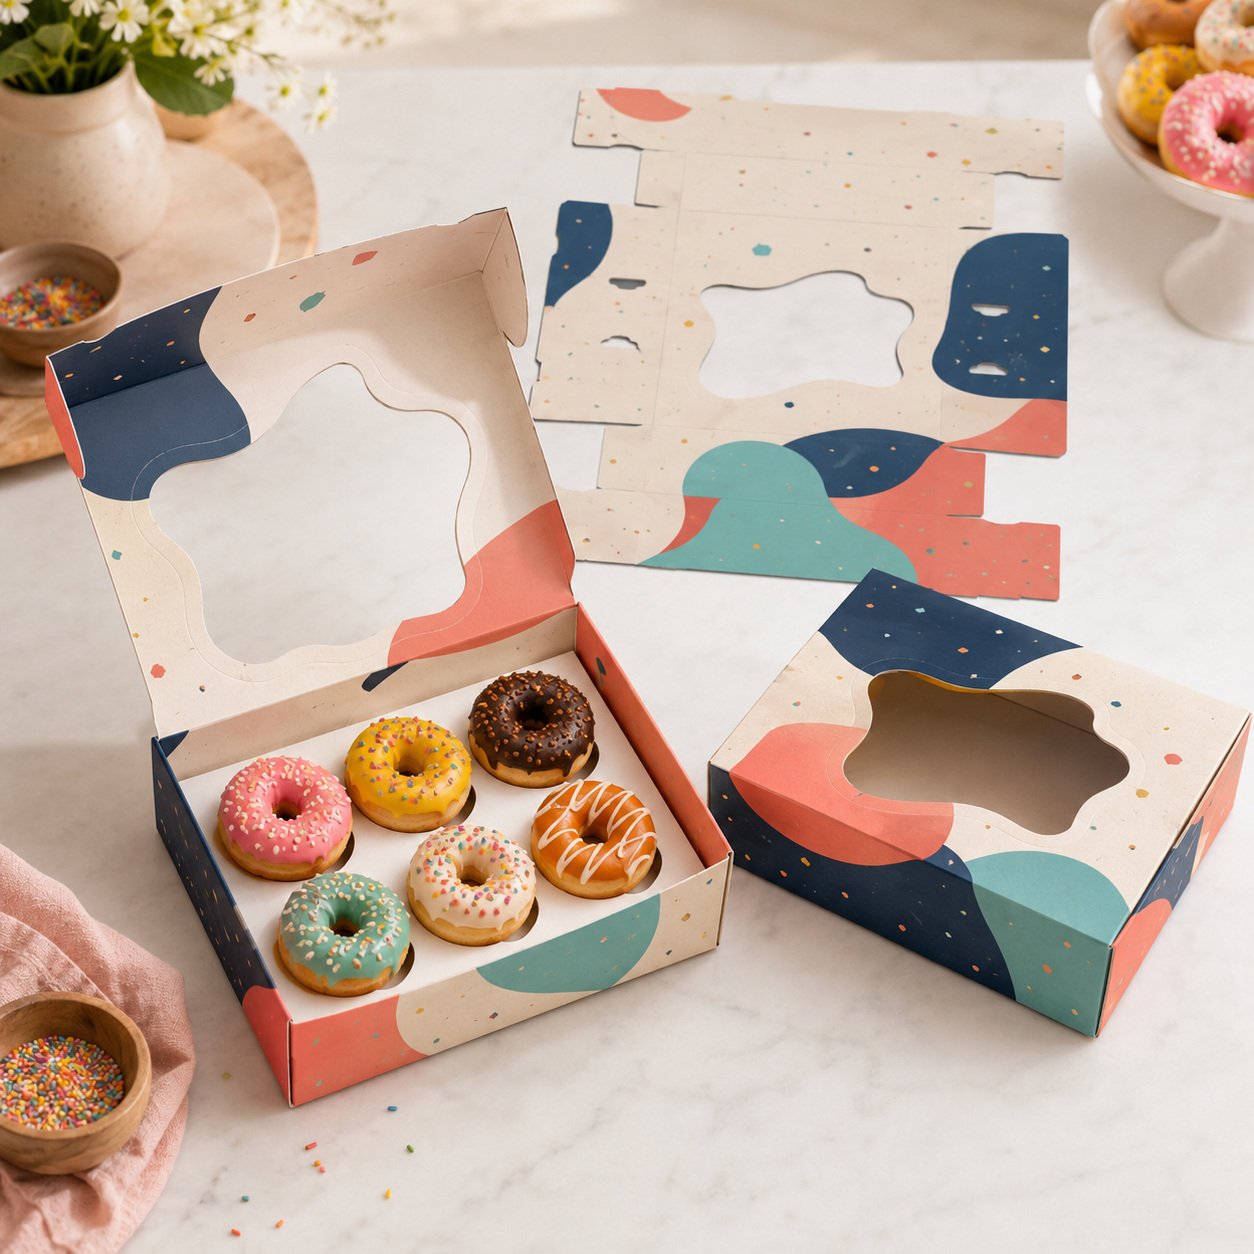
Wondering how to print custom boxes without costly reprints? The process comes down to six steps: measure the product, pick a box style and get the printer’s dieline, design on that dieline, approve a digital proof, let production run, then receive and inspect. Get the first three right and you avoid most expensive mistakes. Below is each step in order, followed by six ways to lower your packaging cost.
Quick take
- Measure the inside dimensions of what goes in the box, including any insert or tissue.
- Always design on the printer’s own dieline, never on a mockup image.
- The digital proof is your last cheap chance to catch an error — review it like a customer would.
- The biggest savings come from standard sizes, one box for several products, and a short trial run.
What you need before you order
Having these ready before you contact a printer cuts the back-and-forth in half:
- The actual product (or a sample). Real measurements beat numbers from a supplier’s spec sheet.
- A vector logo (AI, PDF or SVG). A screenshot of your logo won’t print sharply.
- A rough quantity. Even an estimate helps decide the right production approach.
- Where the box will live. Retail shelf, inside a shipping carton, or handed over as a gift? Each changes the box style and board thickness.
The custom box printing process, step by step
Step 1: Measure the inside, not the outside
What matters is the interior space: length × width × height of the contents as they’ll actually sit, including inserts, tissue or a thank-you card. Allow only a few millimeters of play. Too much room and the product rattles around; zero room and the box fights you at closing and the folds crack over time.
If you sell several products of similar size, measure all of them now. You may find a single box size fits the whole range — one of the most effective savings later on.
Step 2: Choose the box style and get the dieline
A dieline is the flat, unfolded template of the box: cut lines, fold (crease) lines, and the tabs that tuck or glue. Every style has its own — tuck-end boxes, drawer (sleeve) boxes, lid-and-base boxes and more. Material and finish are a separate decision, covered in our guide to box materials and finishes.
Get the dieline from the printer who will actually produce the job. Downloaded templates assume a different board thickness and tab width, and even a small mismatch throws off the folds.
Step 3: Build the artwork on the dieline
This is where the most expensive mistakes happen. Core rules:
- Bleed: extend backgrounds past the cut line (3 mm is standard) so no white edges appear.
- Safe zone: keep text and logos away from cut and fold lines; cutting can shift slightly.
- Panel orientation: some panels flip when folded. Check that every panel — especially Arabic text running right to left — reads correctly once assembled.
- Color and resolution: CMYK file, 300 dpi for images.
- Barcodes and product info: place them on a flat panel, clear of folds.
For the selling side of the design — visual hierarchy, unboxing, shelf vs shipping — see product box design strategies. No designer? Paper-Ink offers a design and file-prep service that builds your artwork directly on the dieline.
Step 4: Review the digital proof like a customer
After proof approval, every change becomes a reprint. Paper-Ink sends a free digital proof before printing; run it through these checks:
- Is the front panel really what the customer sees first once the box is folded?
- Does every line of text read the right way up?
- Are names, numbers, URLs and QR codes correct, character by character?
- Are colors close to your brand? (Screens never match paper exactly — rely on your color codes.)
- Is anything important sitting on a fold line?
A 10-minute test that catches a lot: print the proof on plain paper at 100% scale, cut it out and fold it by hand. A paper prototype reveals orientation errors you’ll never spot on screen.
Step 5: Production — what happens at the press
Once approved, the box goes through printing the flat sheet, finishing if you chose one (matte or gloss), die-cutting and creasing, and sometimes side-gluing. Many boxes arrive flat to save shipping volume, so plan dry storage away from humidity — a real concern in coastal cities like Jeddah.
Step 6: Shipping and receiving
Paper-Ink delivers across Saudi Arabia and the GCC, with free shipping on orders of SAR 250 or more. The expected timeline is shown when you order — plan your launch around it rather than guessing; our post on packaging lead times in Saudi Arabia explains what affects it. When the order lands, pull random samples from more than one carton, assemble them, put the product inside and test the closure before you start packing.
| Step | What you provide or decide | Most common mistake |
|---|---|---|
| Measure | Interior dimensions of the contents | Measuring outside or without the insert |
| Dieline | Box style + printer’s template | Using a downloaded template |
| Artwork | CMYK file with bleed and safe zone | Text upside down after folding |
| Proof | Written approval | Quick sign-off without a paper mockup |
| Production | — | Changing the design after approval |
| Receiving | Sample inspection | Finding problems after packing |
How to reduce packaging cost without looking cheap
We don’t list prices here because they shift with size, quantity and material (for the factors behind them, read our breakdown of custom packaging cost in Saudi Arabia). These decisions lower cost in almost every case:
- Use a standard size where you can. An existing die saves the time and cost of a new one.
- One box for several products. A single size with an internal insert instead of a box per SKU.
- Branded box + variant sticker. Print the box with your logo only and mark the flavor, shade or size with a small sticker — no separate print run per product.
- Start with a short run. Test the box in the market before committing; short-run packaging keeps changes cheap.
- Batch your orders. One planned order beats several rushed small ones.
- One deliberate finish. A single, well-executed matte finish looks more premium than stacked effects.
And remember: the most expensive line on any packaging order is a reprint caused by an error the proof could have caught.
FAQ
What is a dieline in box printing?
A dieline is the flat template of a box showing cut lines, fold lines and tabs. Your artwork is built on top of it so every element lands in the right place once the box is assembled. Always get it from the printer producing your job, since templates vary with board thickness and closure style.
Do I need a designer to order custom printed boxes?
Not necessarily. If you have a vector logo and a clear idea, Paper-Ink’s design service can prepare the artwork on your box dieline. You should still review the free digital proof yourself before approving, because nobody knows your product details better than you do.
How can I be sure the box size is right before printing?
Measure the contents from the inside, including any insert. Then print the proof on plain paper at 100% scale, cut and fold it, and put the product inside. That quick paper prototype exposes sizing and orientation problems in minutes, before they become a production loss.
What’s the simplest way to lower custom box costs?
Standardize. One standard-size box that fits several products with an internal insert, plus a small sticker to identify each variant, usually saves more than any price negotiation. Add a short trial run before committing to a large quantity and you limit the cost of any changes.
Do you ship custom boxes outside Jeddah?
Yes. Paper-Ink delivers across Saudi Arabia and the GCC, and shipping is free on orders of SAR 250 or more. The expected timeline appears when you order, so plan your launch around it — especially ahead of busy seasons when printers fill up.
Ready to start?
Browse our custom printed boxes, pick the style closest to your product, and you’ll get a free digital proof before anything goes to press.
